
Narelle shares this recipe, inspired by her grandmother Mae
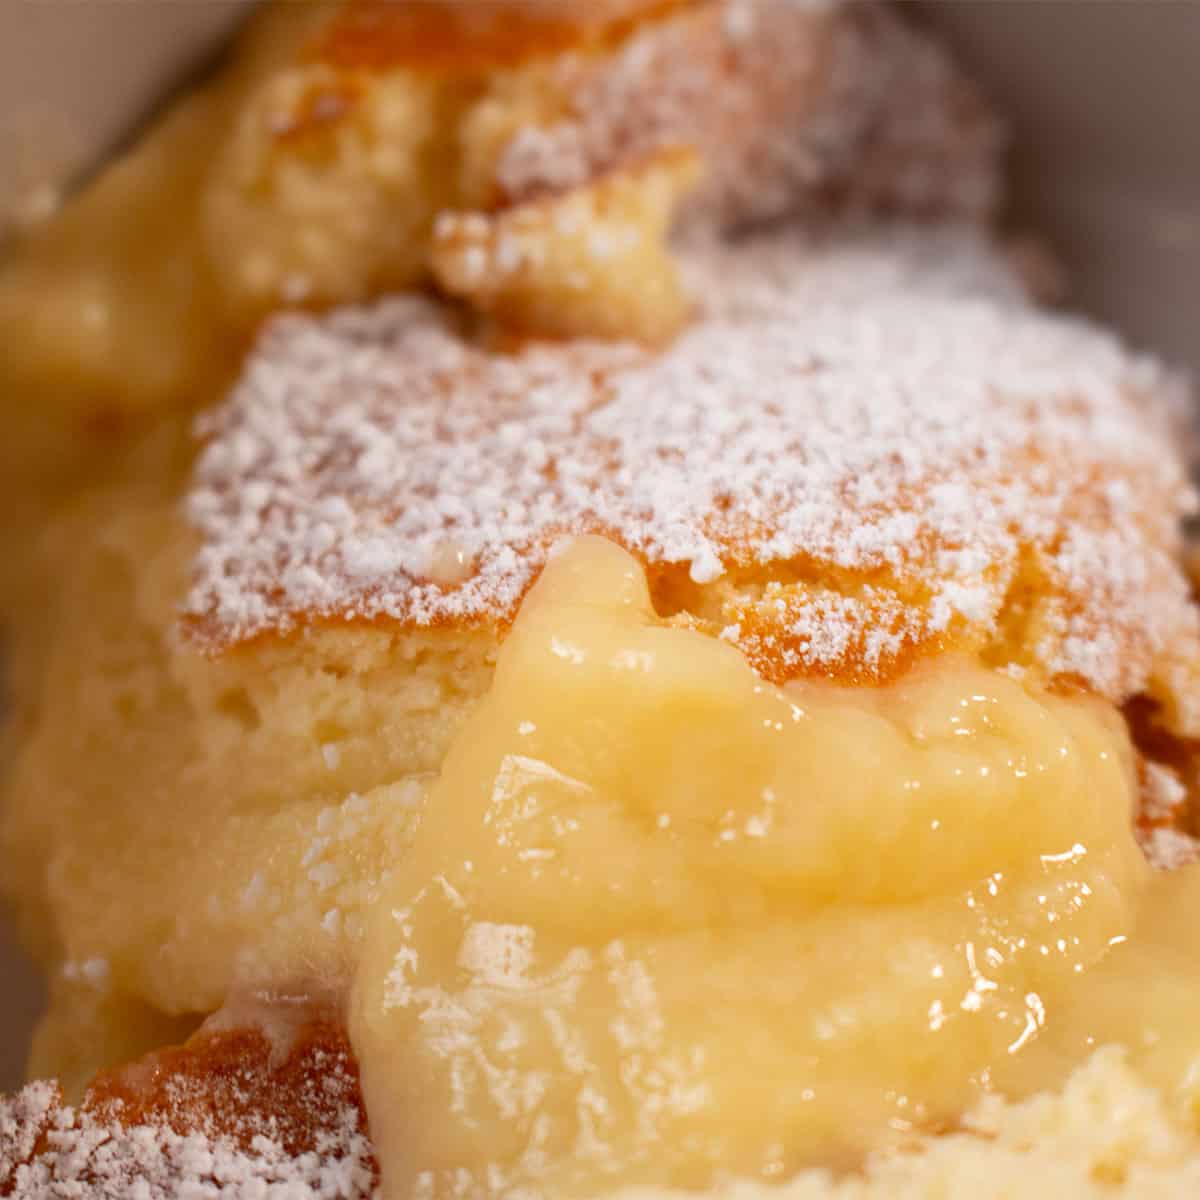
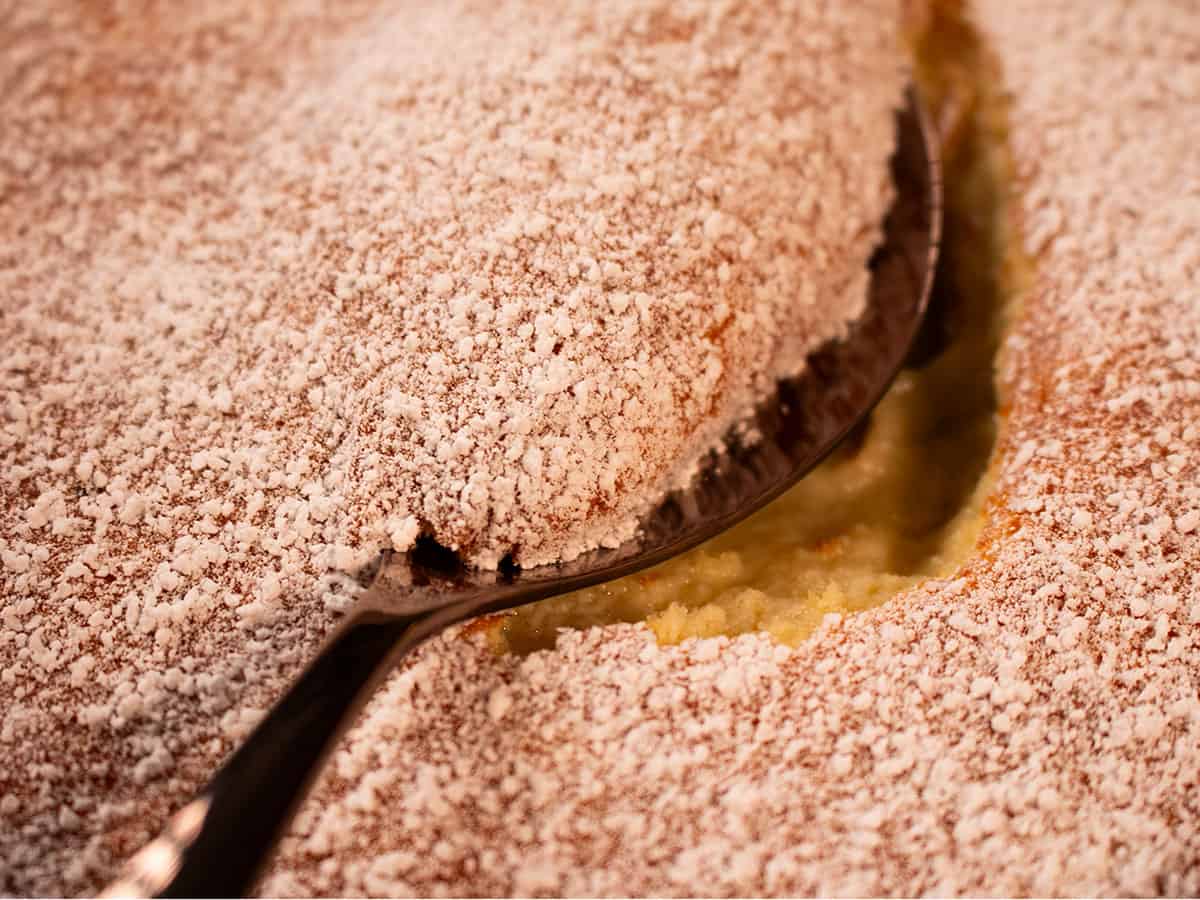
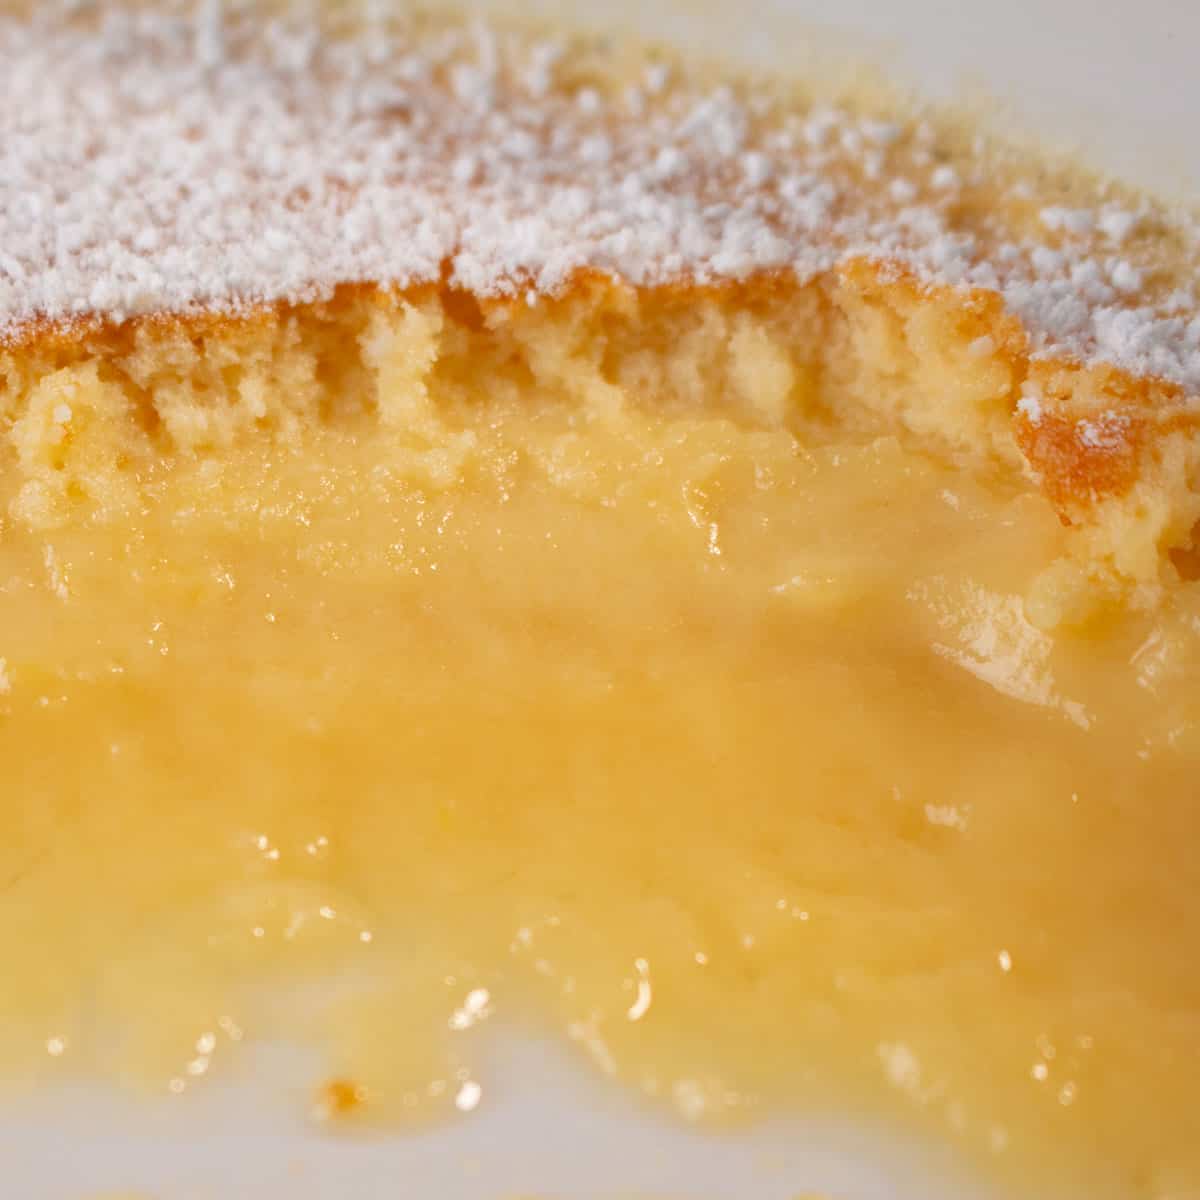
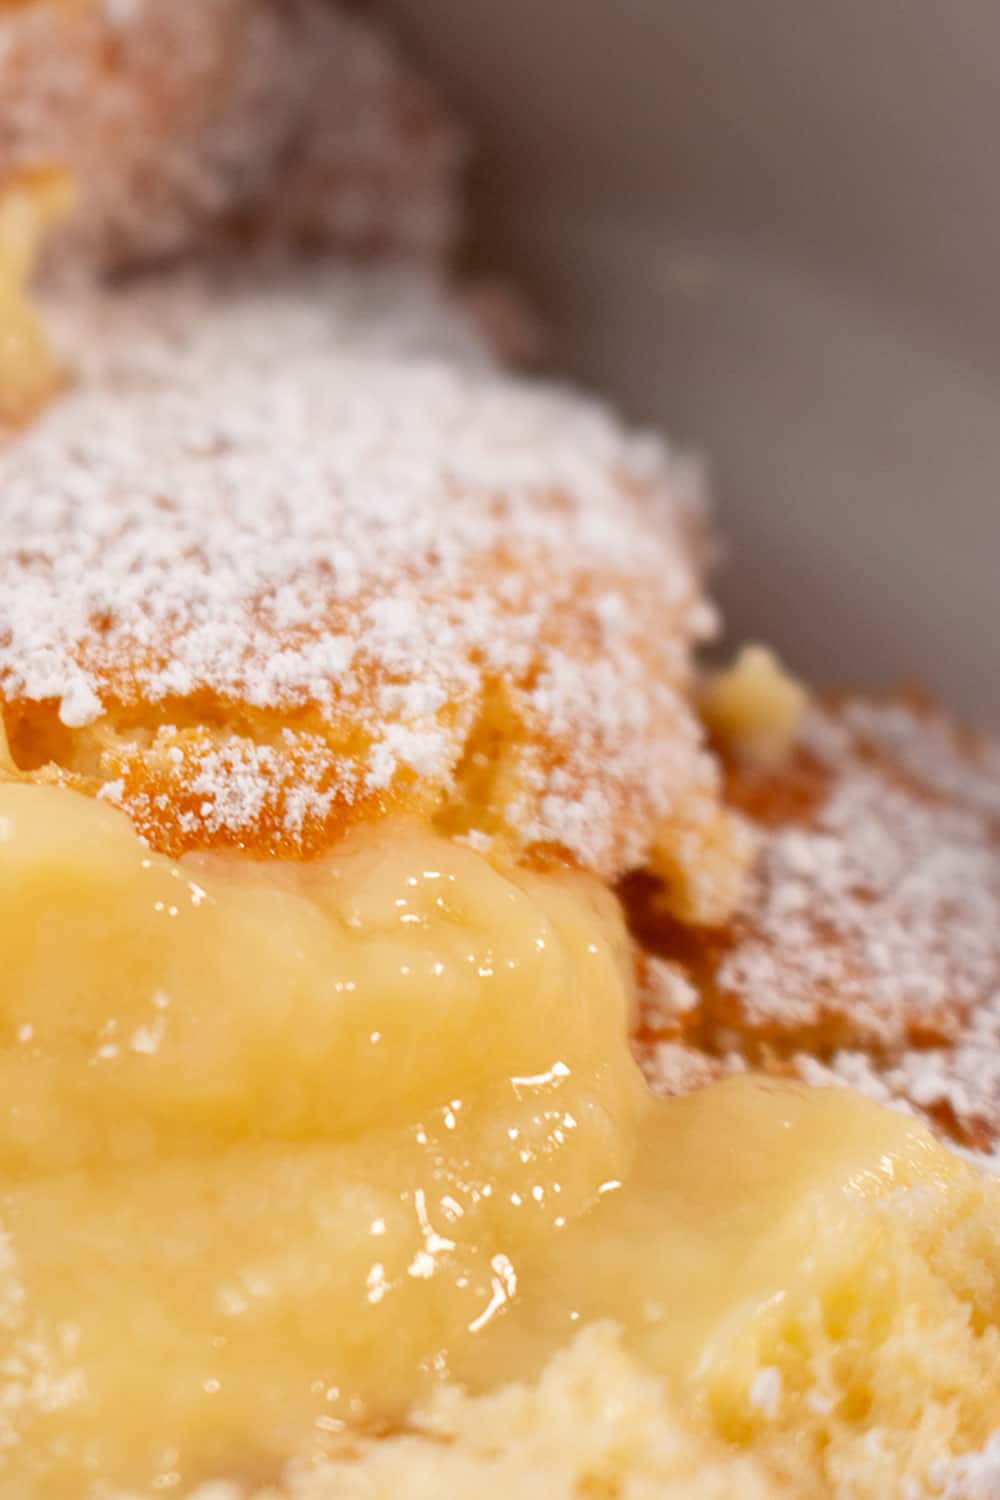
Lemon Delicious Pudding is pure comfort in a dish. As it bakes it separates in to a light and airy sponge on top, with a luxuriously silky, tangy lemon sauce hiding underneath. Every spoonful is a decadent balance of both sweet and tart. This warm, buttery, and irresistibly luscious pudding is perfect for spoiling yourself or treating family and friends. It is the kind of dessert that feels both nostalgic and effortlessly elegant.
Including the word “delicious” in a recipe title is a fairly bold claim, but Lemon Delicious Pudding manages to effortlessly pull it off. Various versions of this pudding will appear in my collection kindly contributed by more than one family member. I have to be honest and say this is the one I have made the most frequently throughout my life. In the spirit of fairness and good family politics, the other Lemon Delicious recipes will make their appearance in time.
My inspiration

This is my grandmother Mae, who inspired this version of Lemon Delicious Pudding. I come from a large family, and my grandmother was a constant presence in our home, quietly helping with everyday things that kept family life moving. She didn’t drive, so on afternoons when she had to wait a little longer for my grandfather to pick her up, she would fill in the time by making a dessert for us. I was always nearby, eager to help, more often than not, I would suggest Lemon Delicious Pudding, a simple, comforting dessert that, to this day, carries the warmth of those afternoons and the memories of my grandmother.
“This recipe brings back memories of afternoons cooking desserts with my grandmother.”
What makes it so special
- What's not to love? This recipe has been passed down through generations, preserving a meaningful piece of family tradition
- Its simple, natural ingredients come together to create a rich, tangy flavor that never goes out of style.
- Its smooth texture and bright, citrusy flavor make it a comforting classic that stands out in any kitchen.
Ingredients
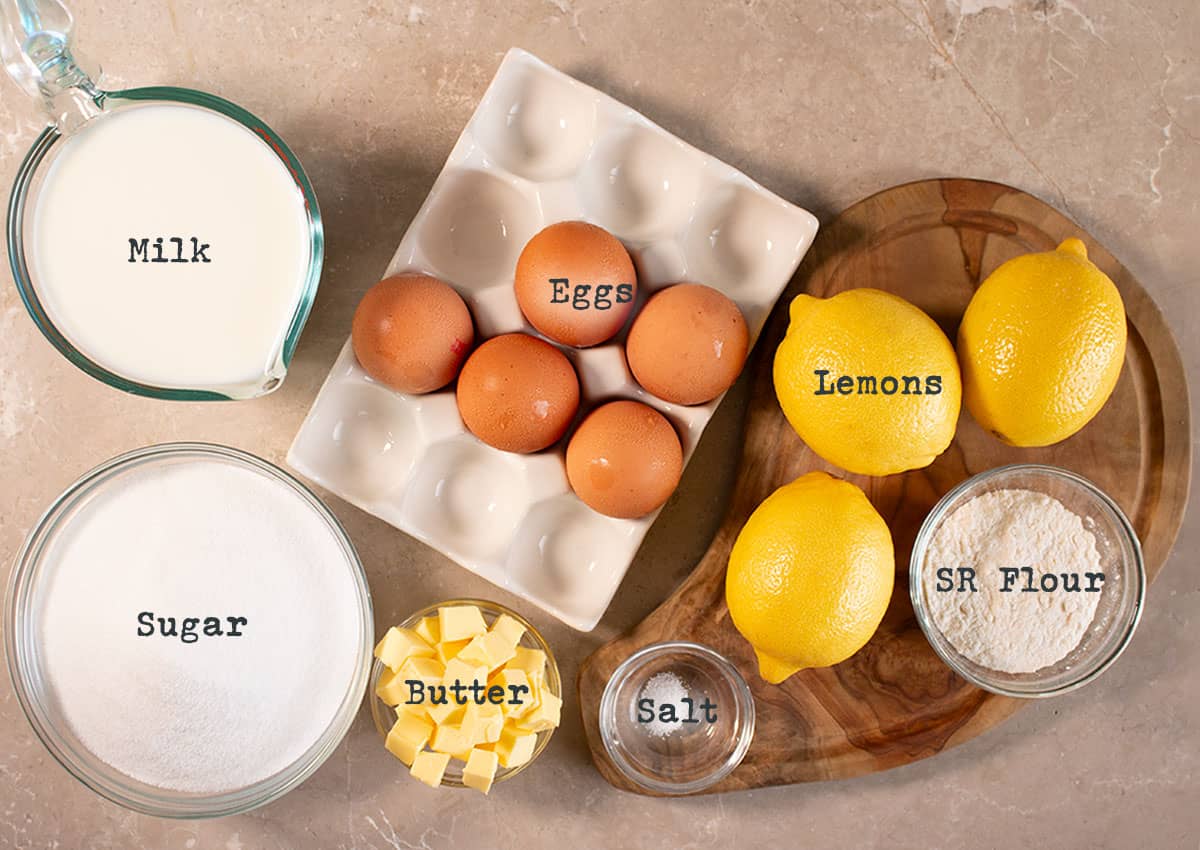
- Lemons: Choose organic ones because you'll be using the zest, and organic lemons are free from wax and pesticides. If not just give them a good wash before using
- Eggs: I recommend using fresh, large free-range eggs (approx 60gm / 2oz)
- Caster sugar or superfine sugar: Caster sugar because it dissolves more easily than granulated sugar, resulting in a smoother texture.
- Self Raising Flour: this is plain flour (all purpose flour) that already has a raising agent added (usually baking powder).
- Unsalted butter: I recommend unsalted butter to control the salt level and add a creamy, velvety finish.
- Milk: Full Cream Milk (I have used low fat milk in the past which works but the texture will be less rich and velvety. The fat in the milk helps create richness and structure in the sauce layer)
- Salt: Table salt is finely ground so dissolves almost instantly. Salt in tiny amounts makes every bite taste sweeter and more flavourful
Instructions
Follow these step-by-step photos to see how this lemon curd comes together. From juicing the lemons to the final smooth stir, each step is simple and rewarding.
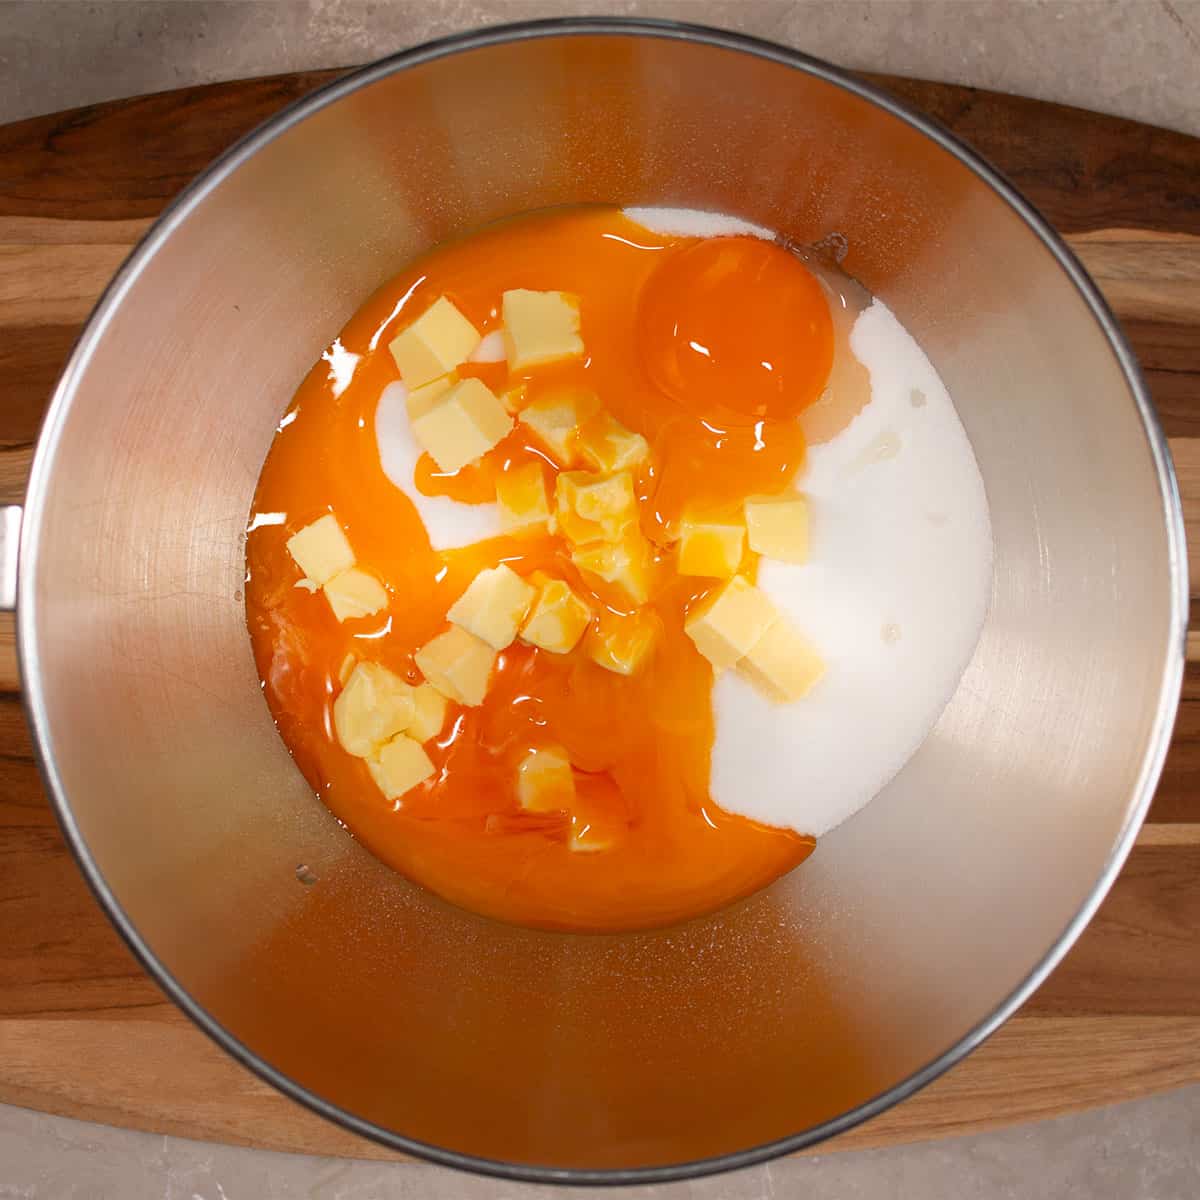
Step 1: Beat the eggs yolks, sugar and butter together with a handheld electric beater or a stand mixer until they are combined.
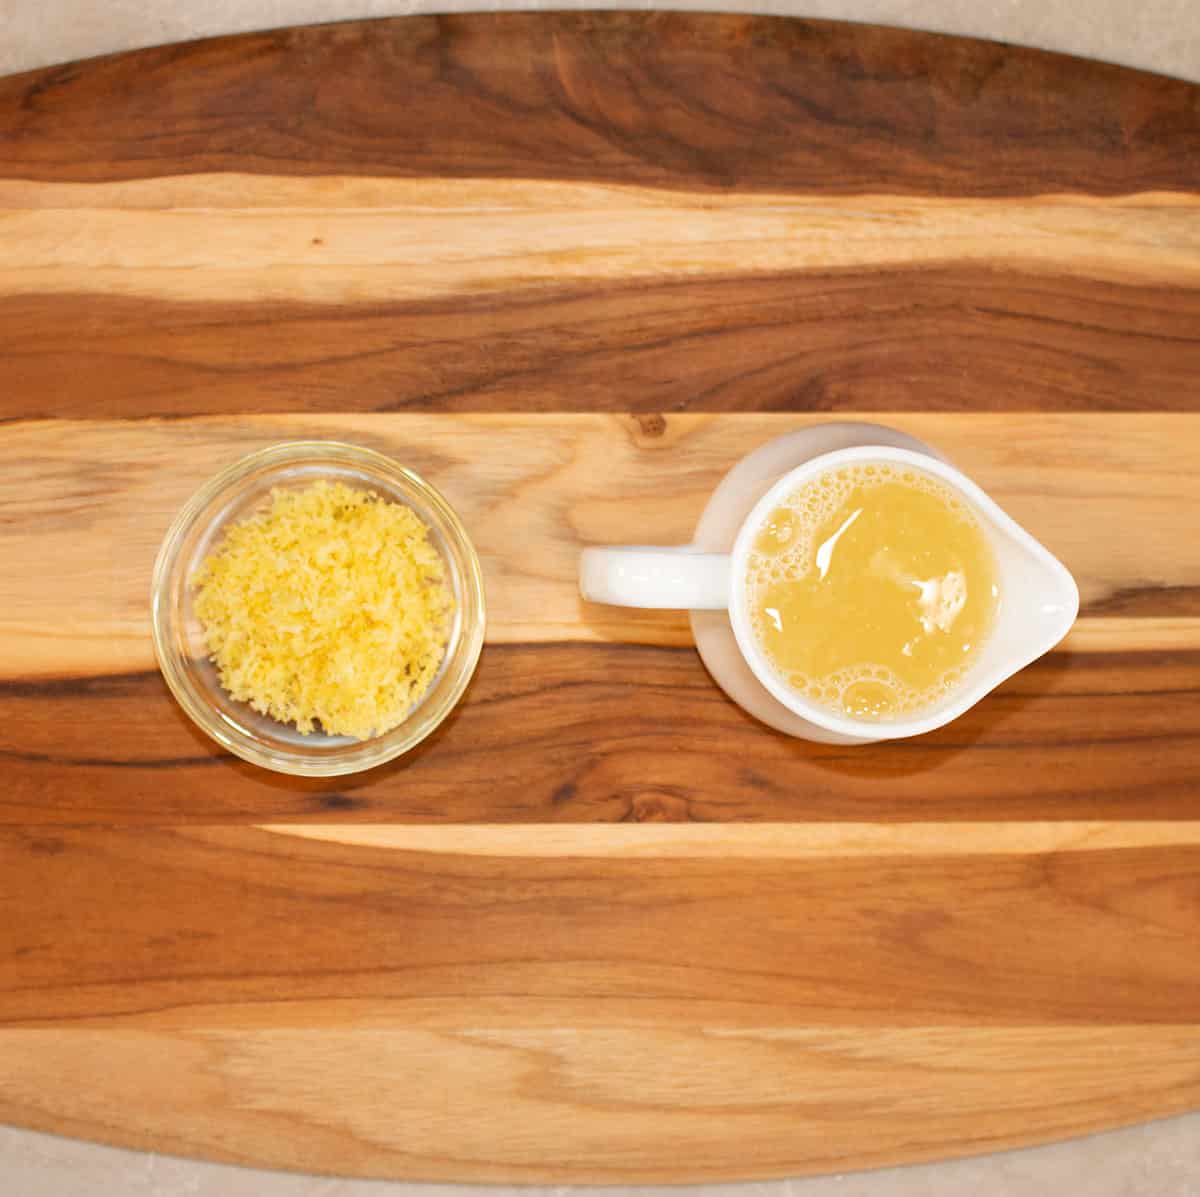
Step 2: Zest and juice the lemons
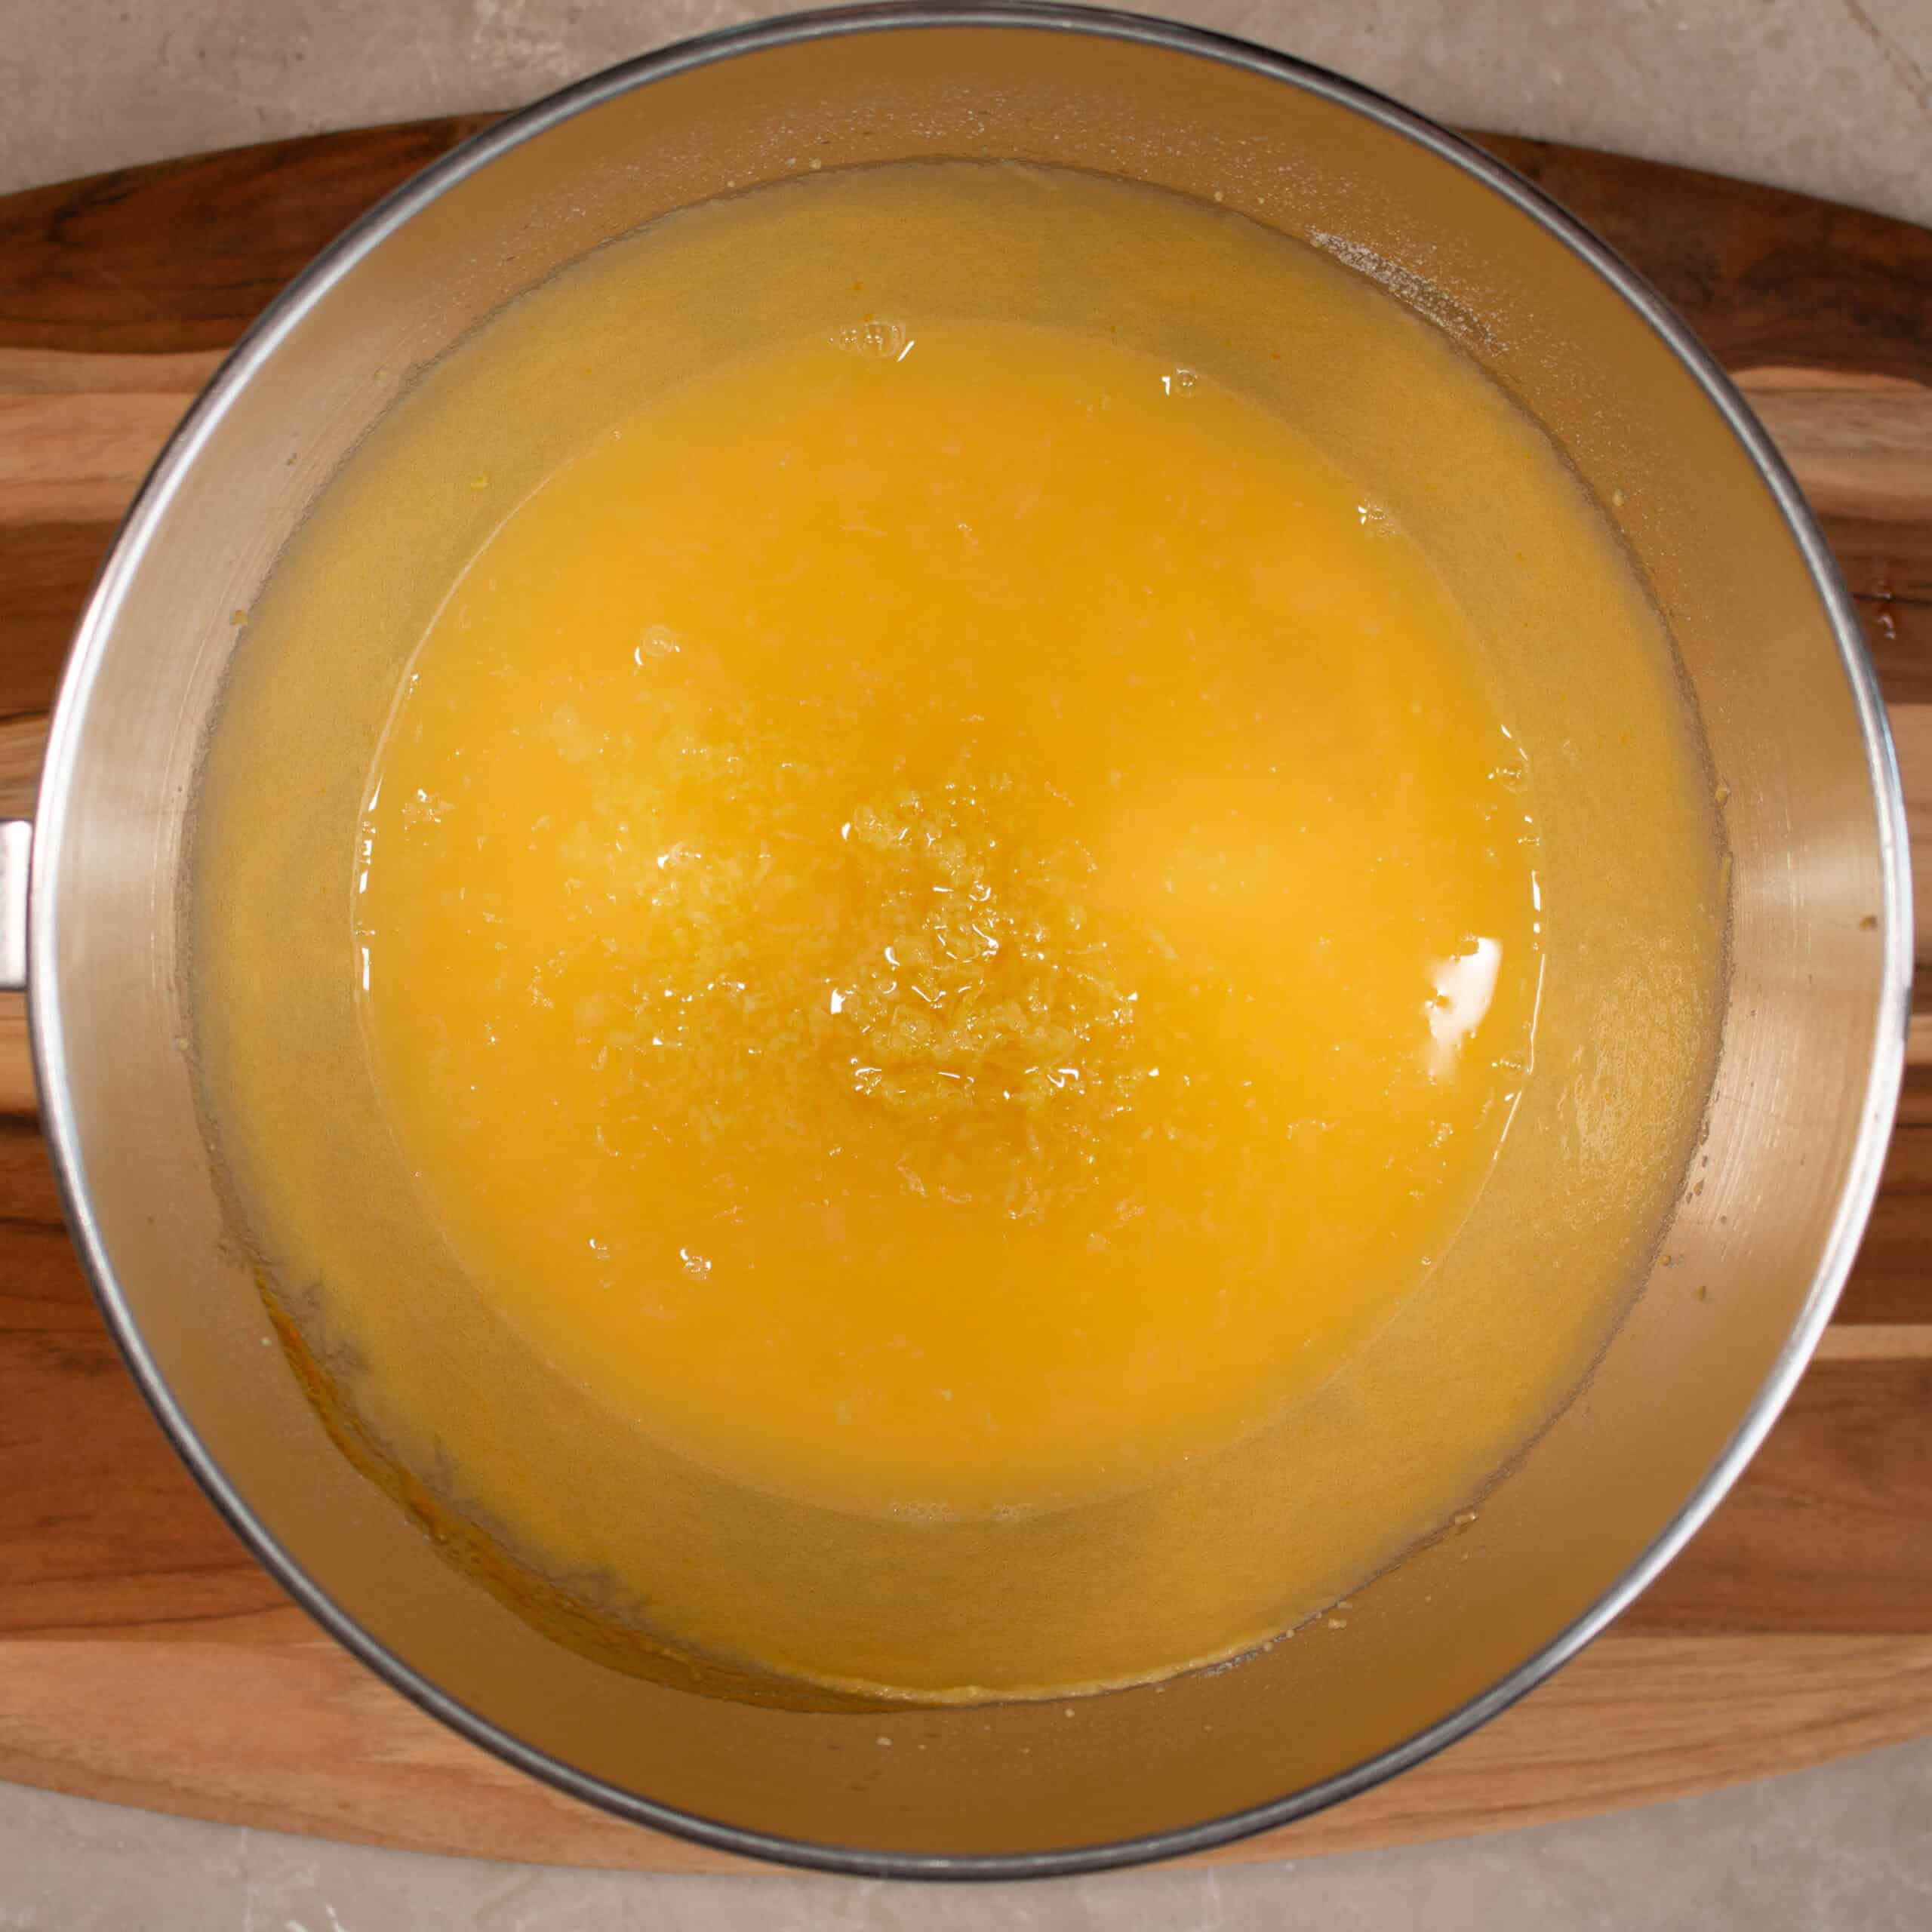
Step 3: Turn the mixer to speed 1 and add the lemon juice and rind to the egg mixture
Step 4: Mix until combined
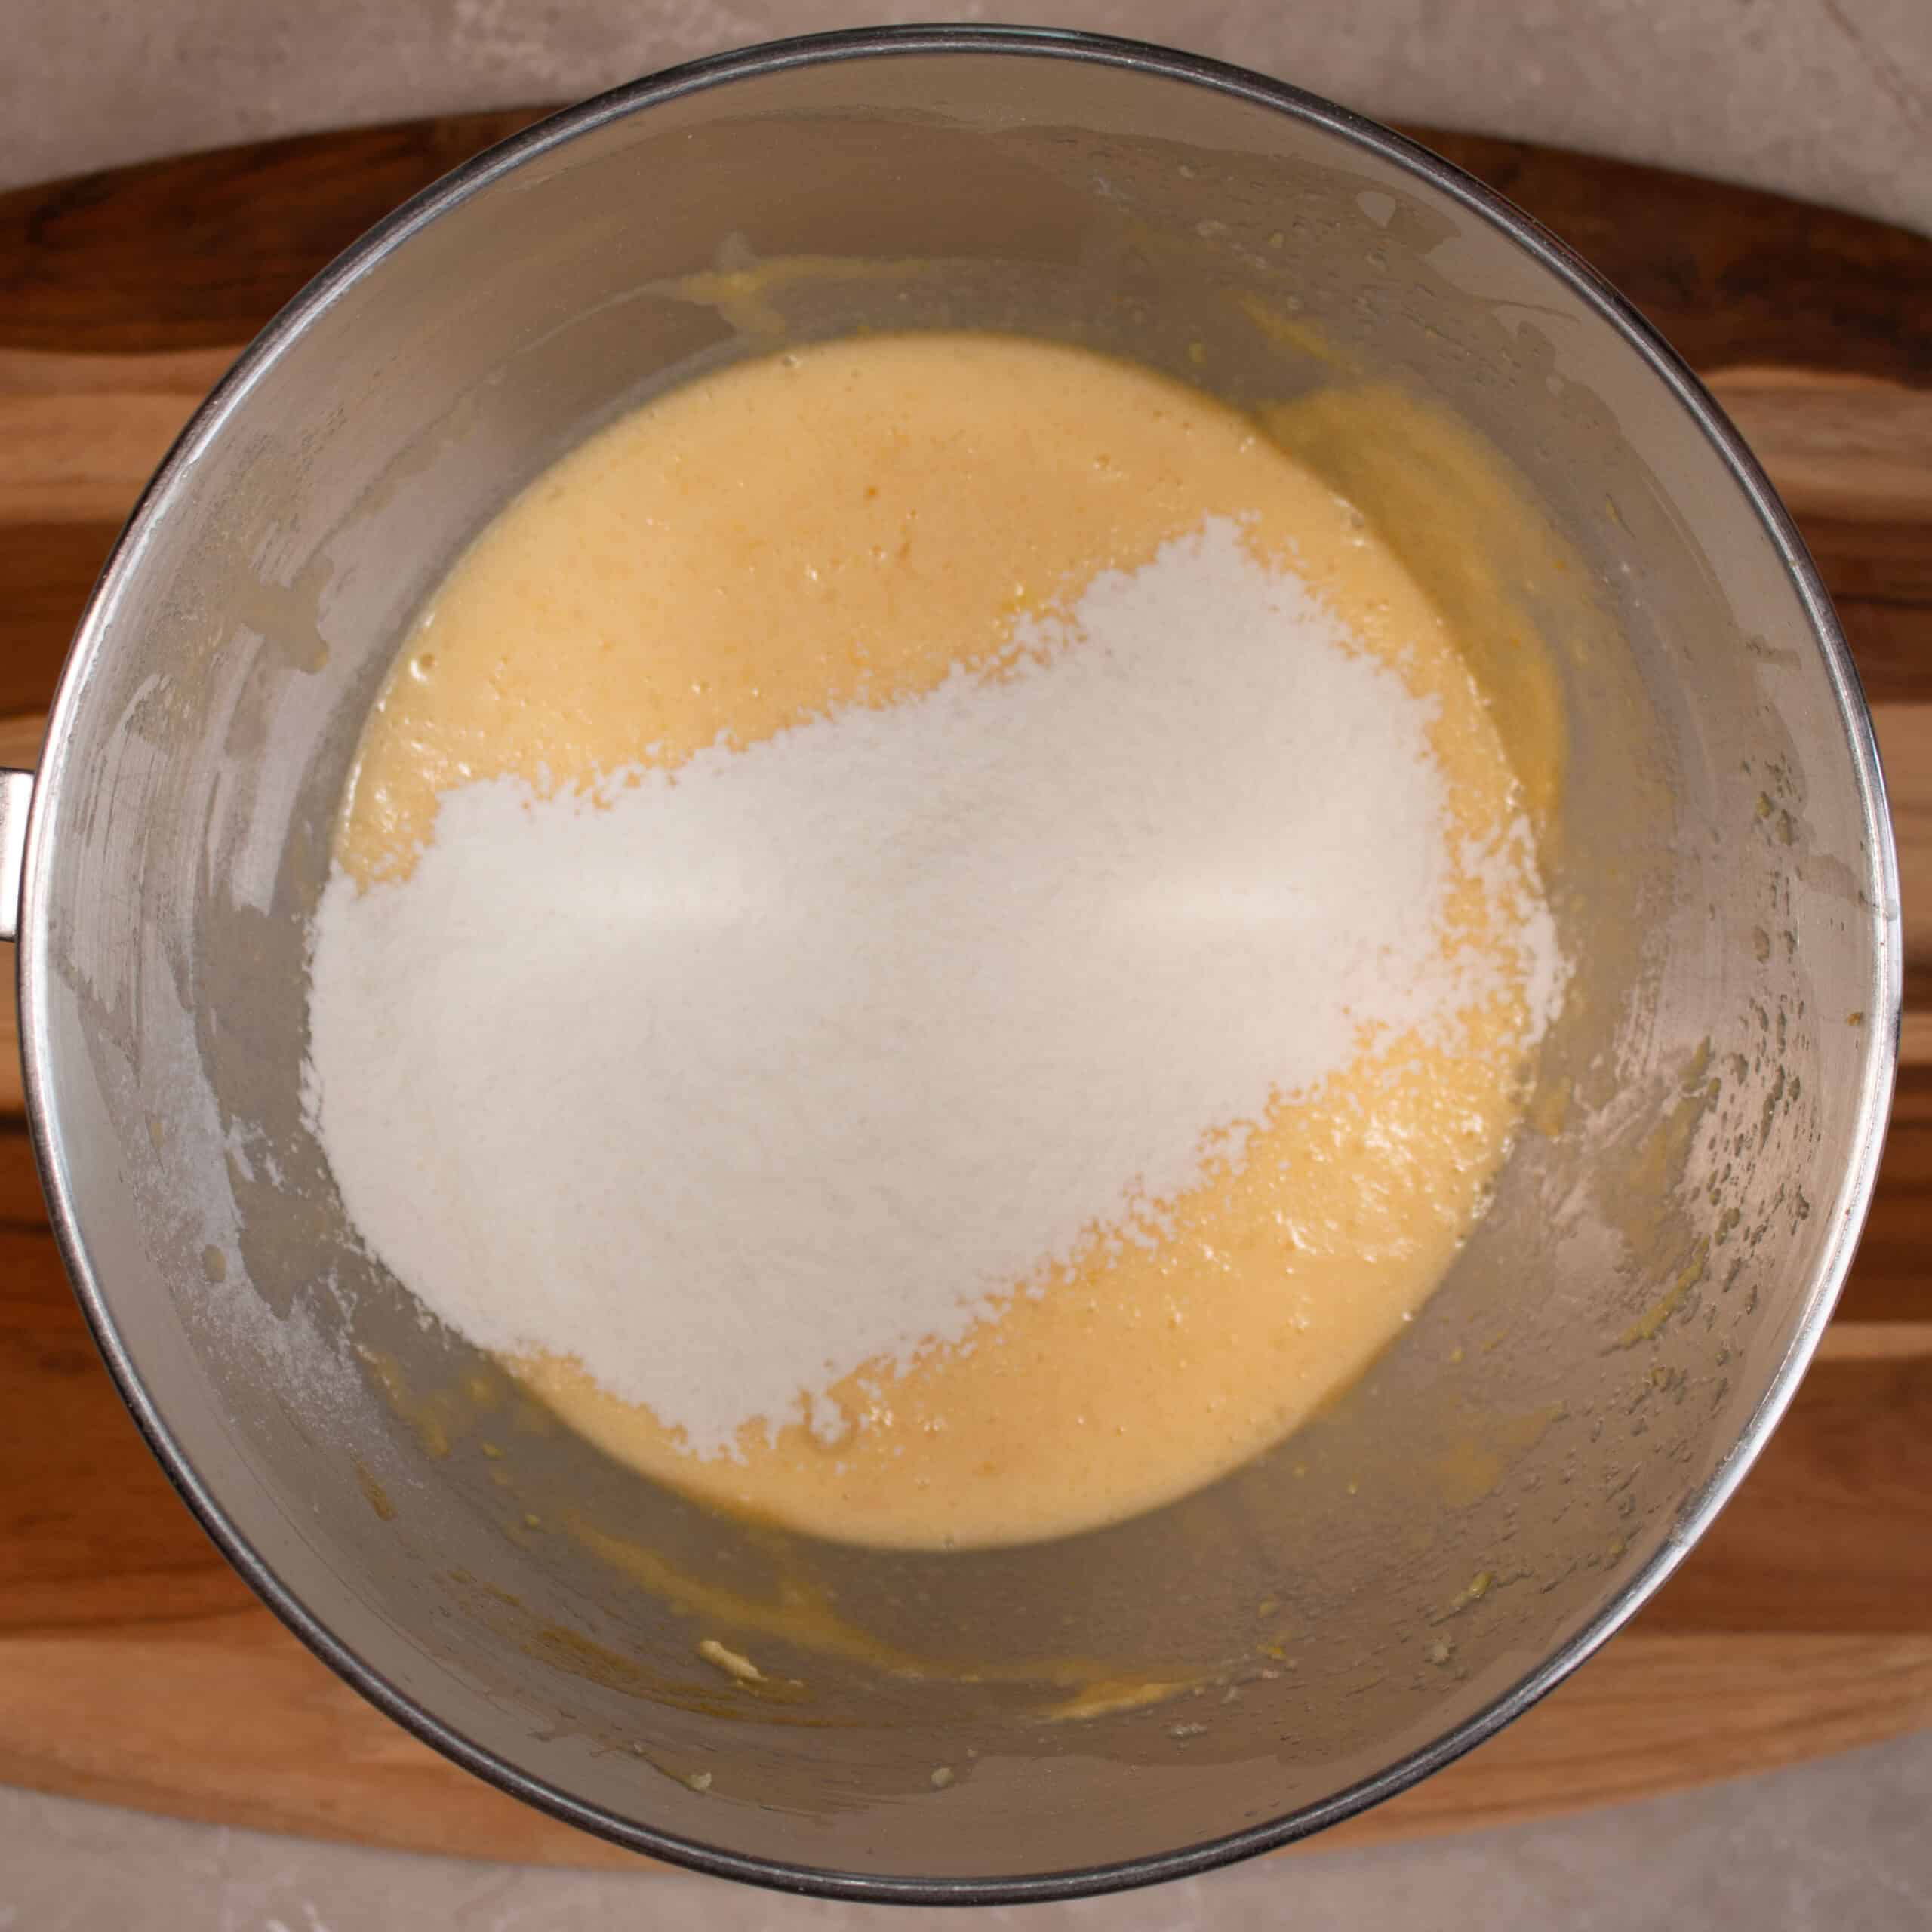
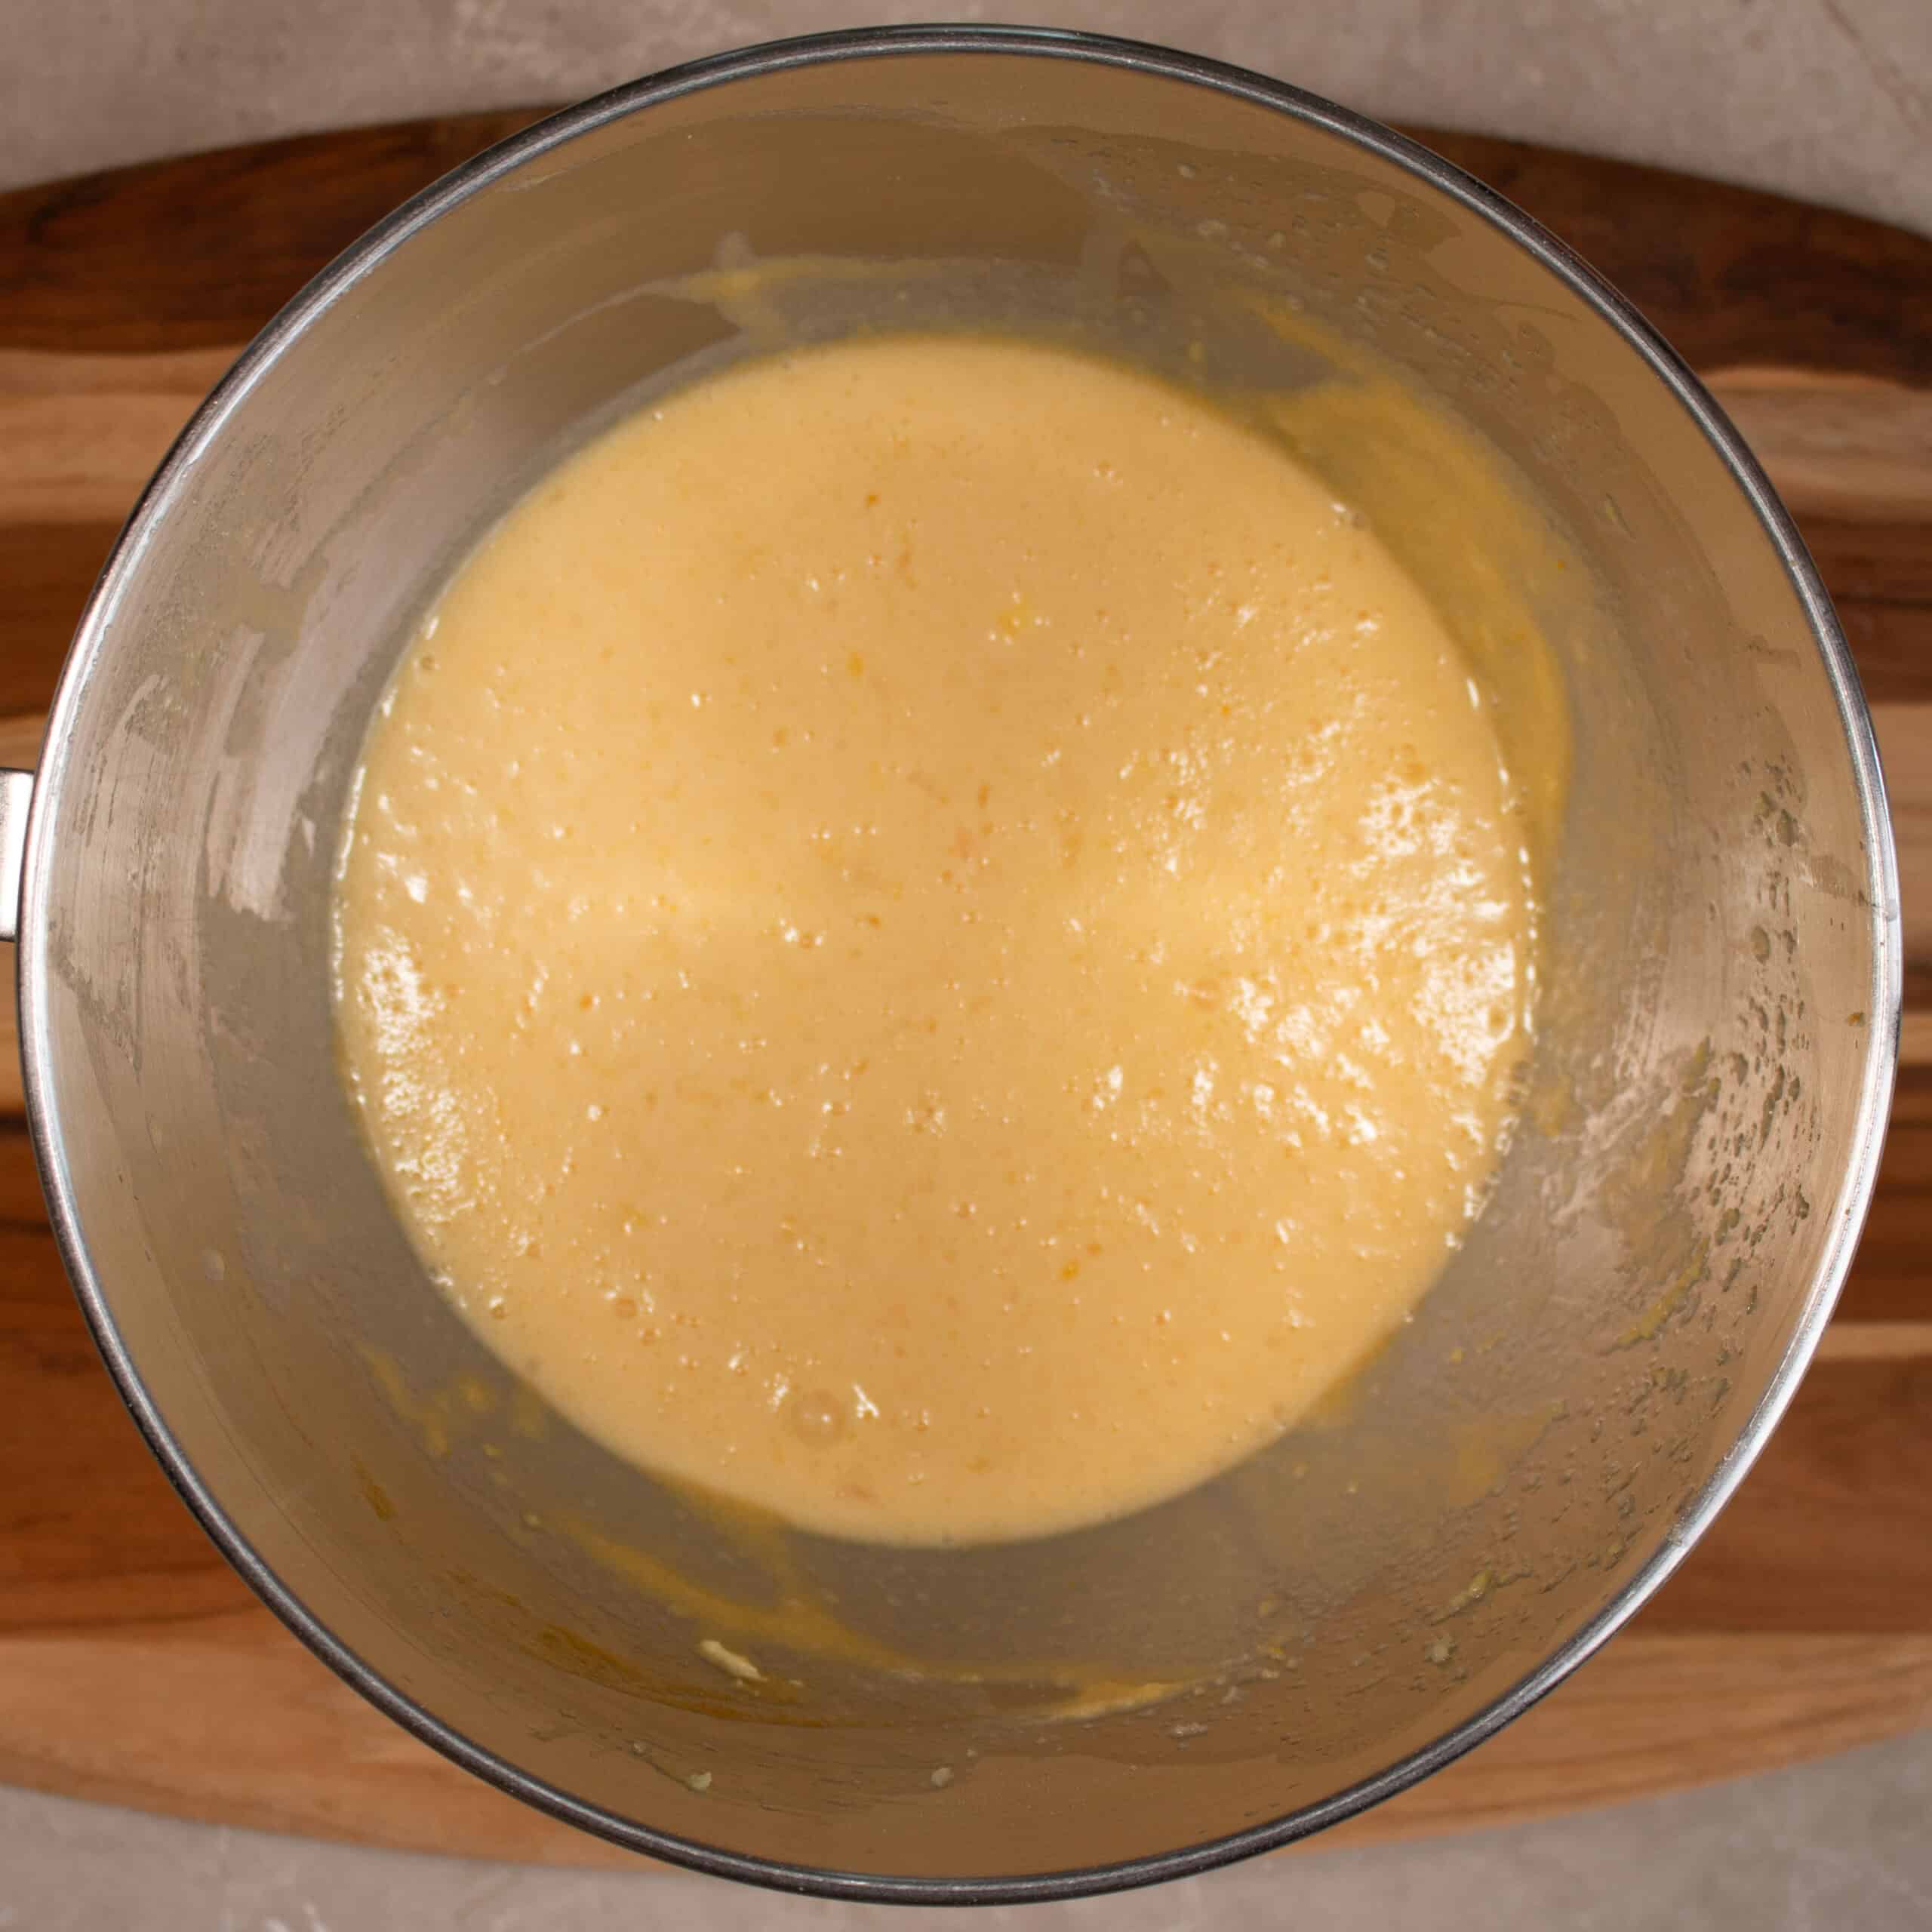
Step 5: Add the sifted self raising flour & salt and beat until combined
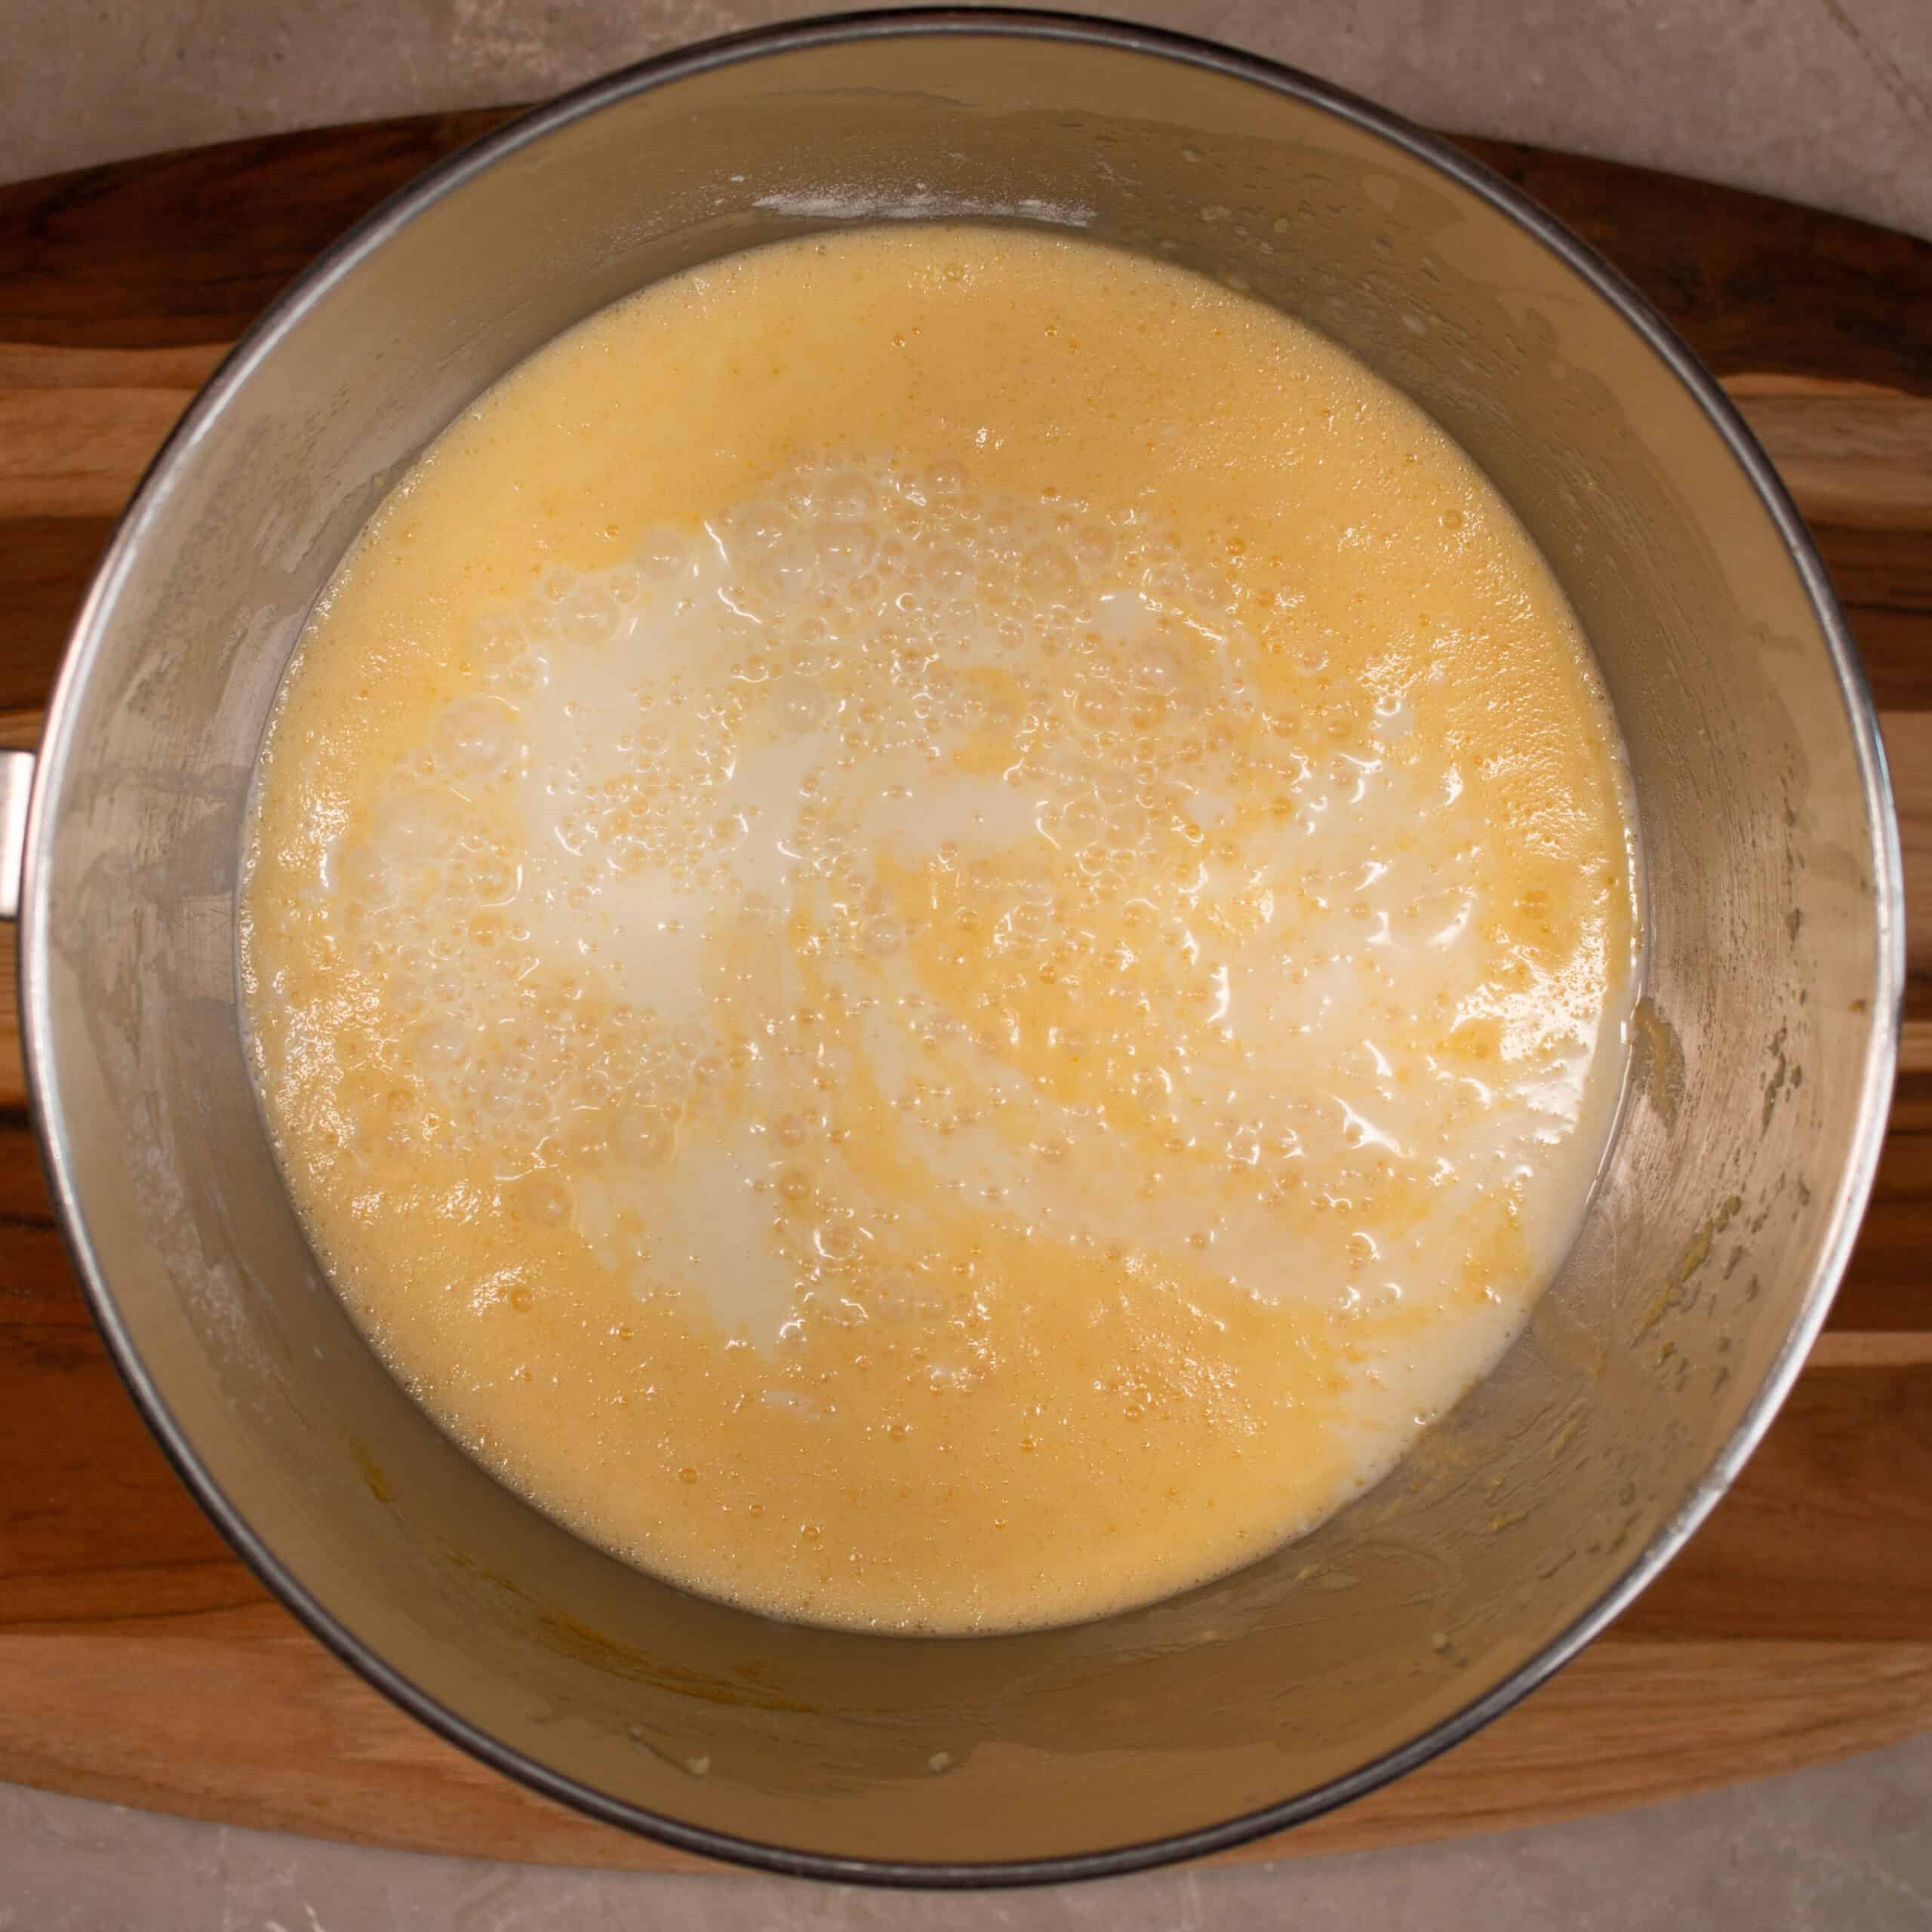
Step 6: Add the milk, you will want to keep the speed low or it may splash out of the bowl
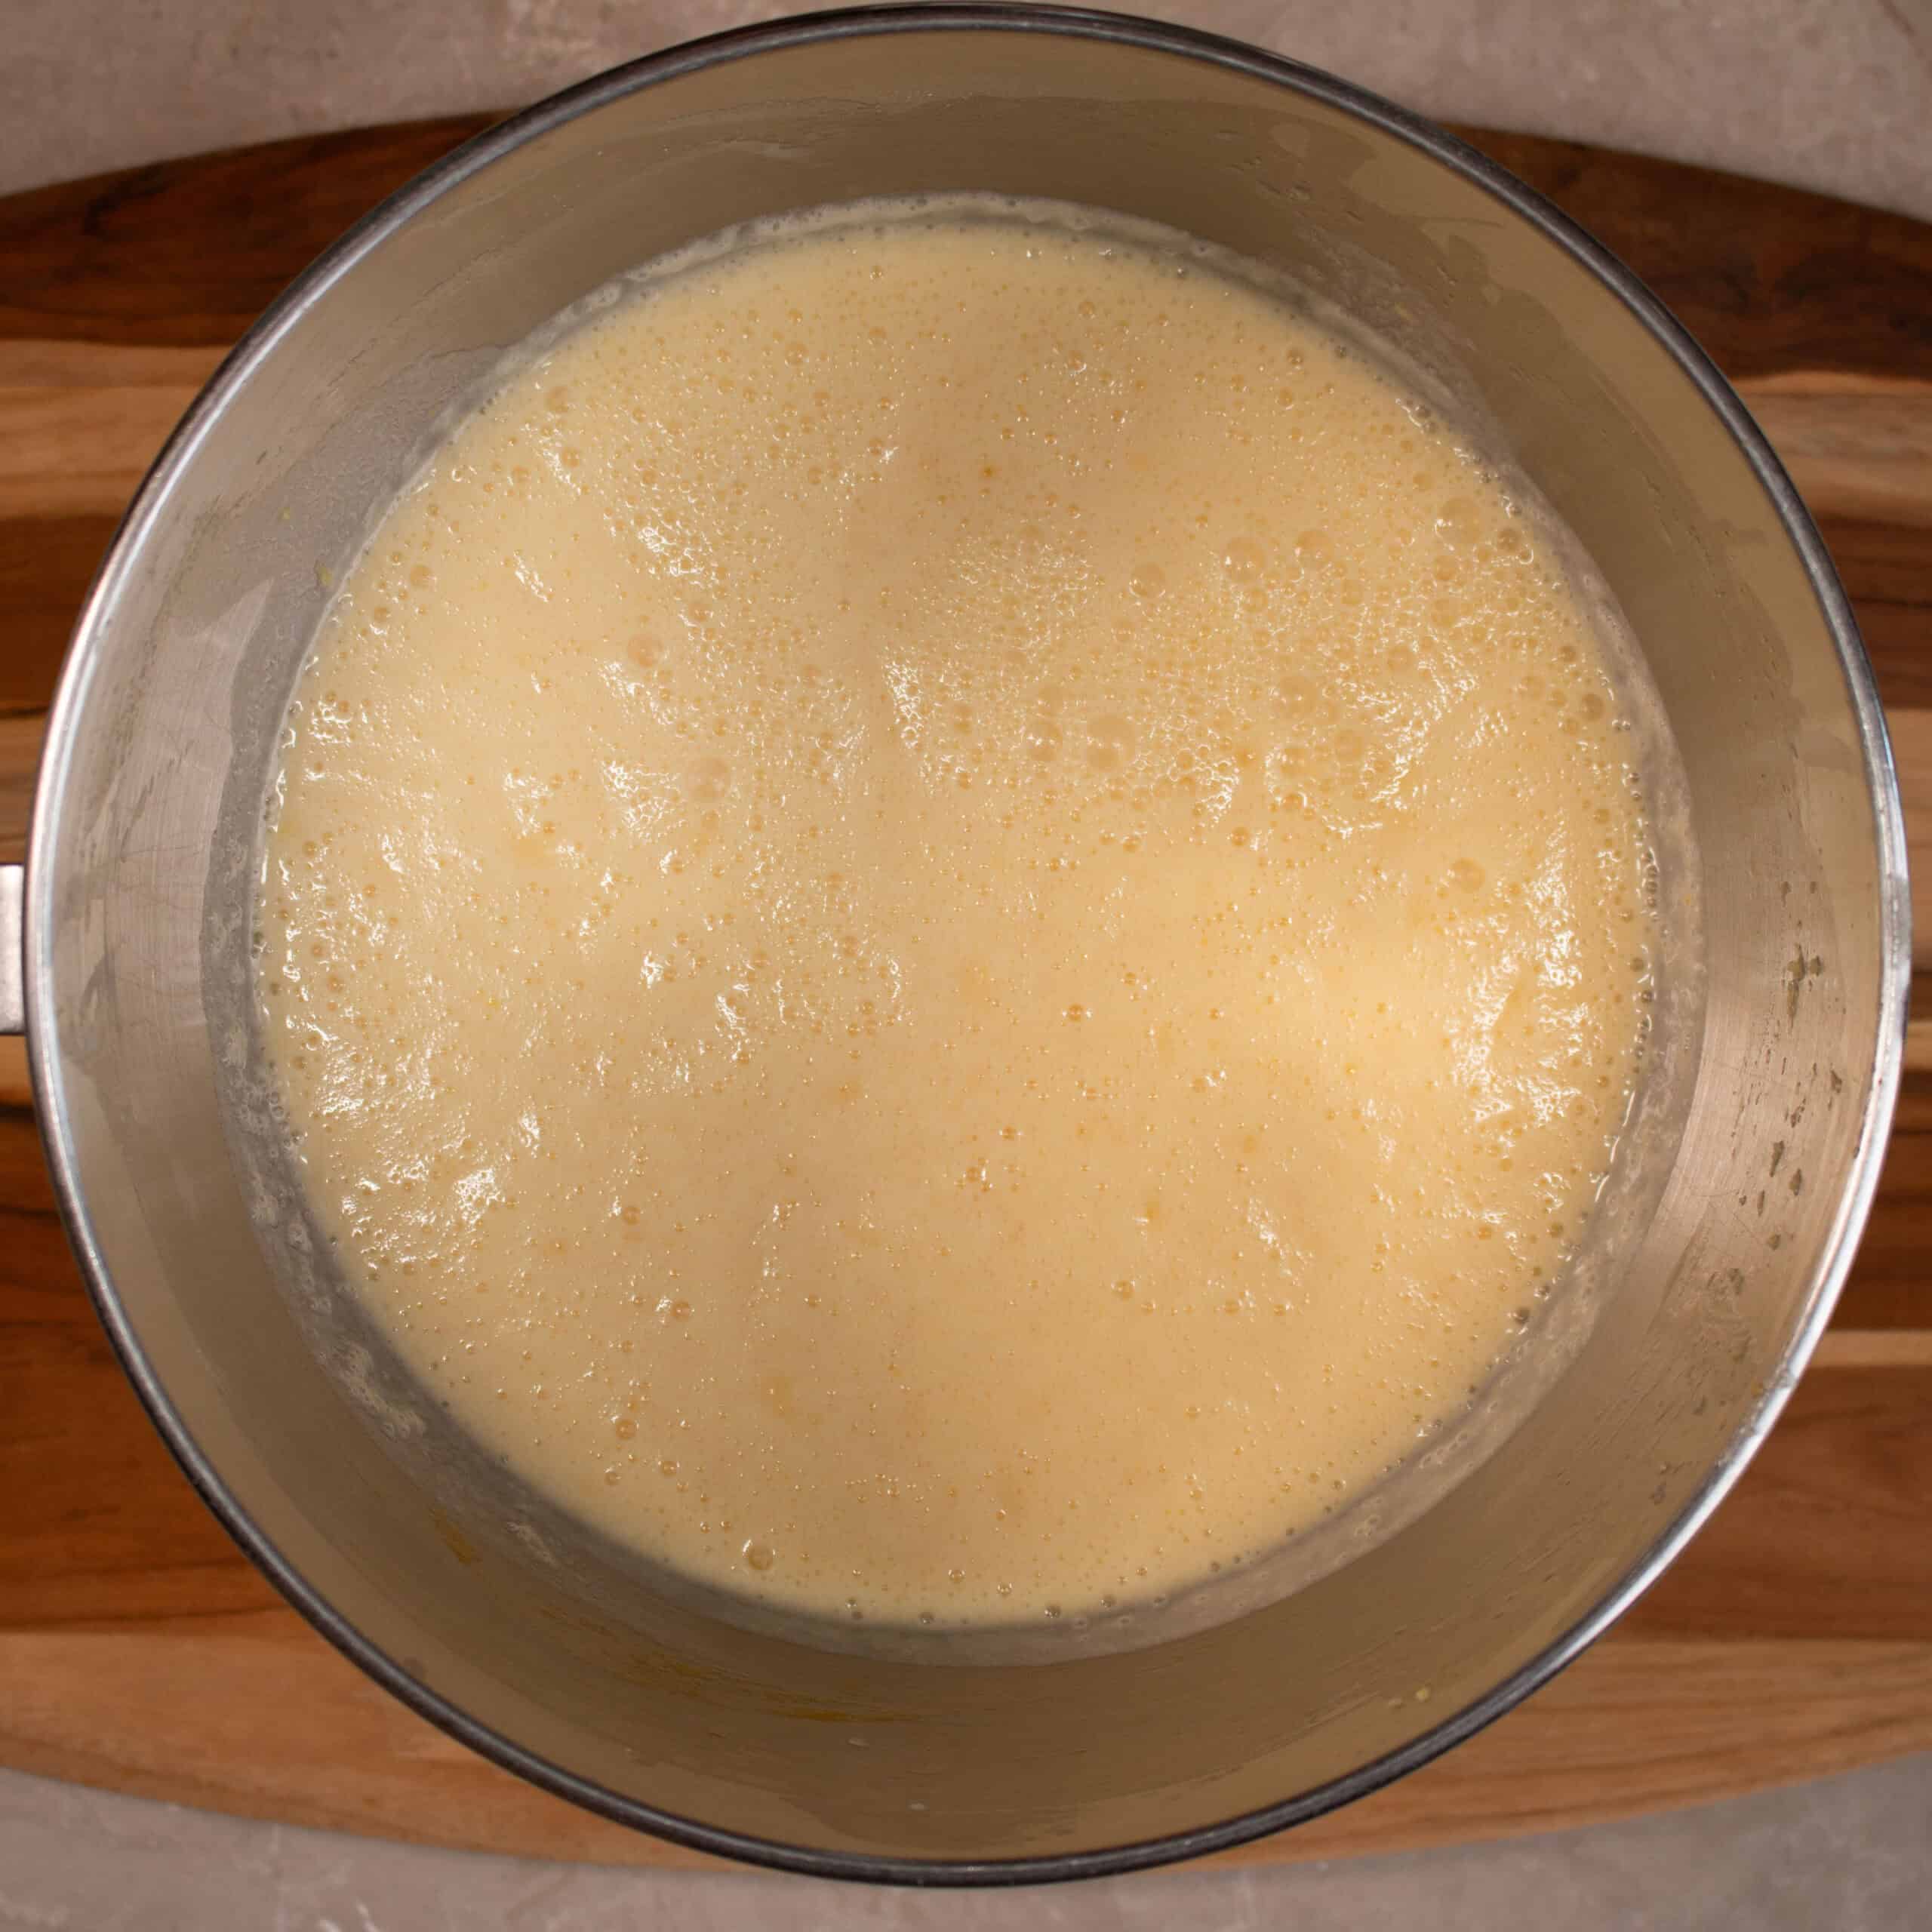
Step 7: Scrape down the sides and base of the bowl as the thicker batter may need a little extra help to mix through evenly
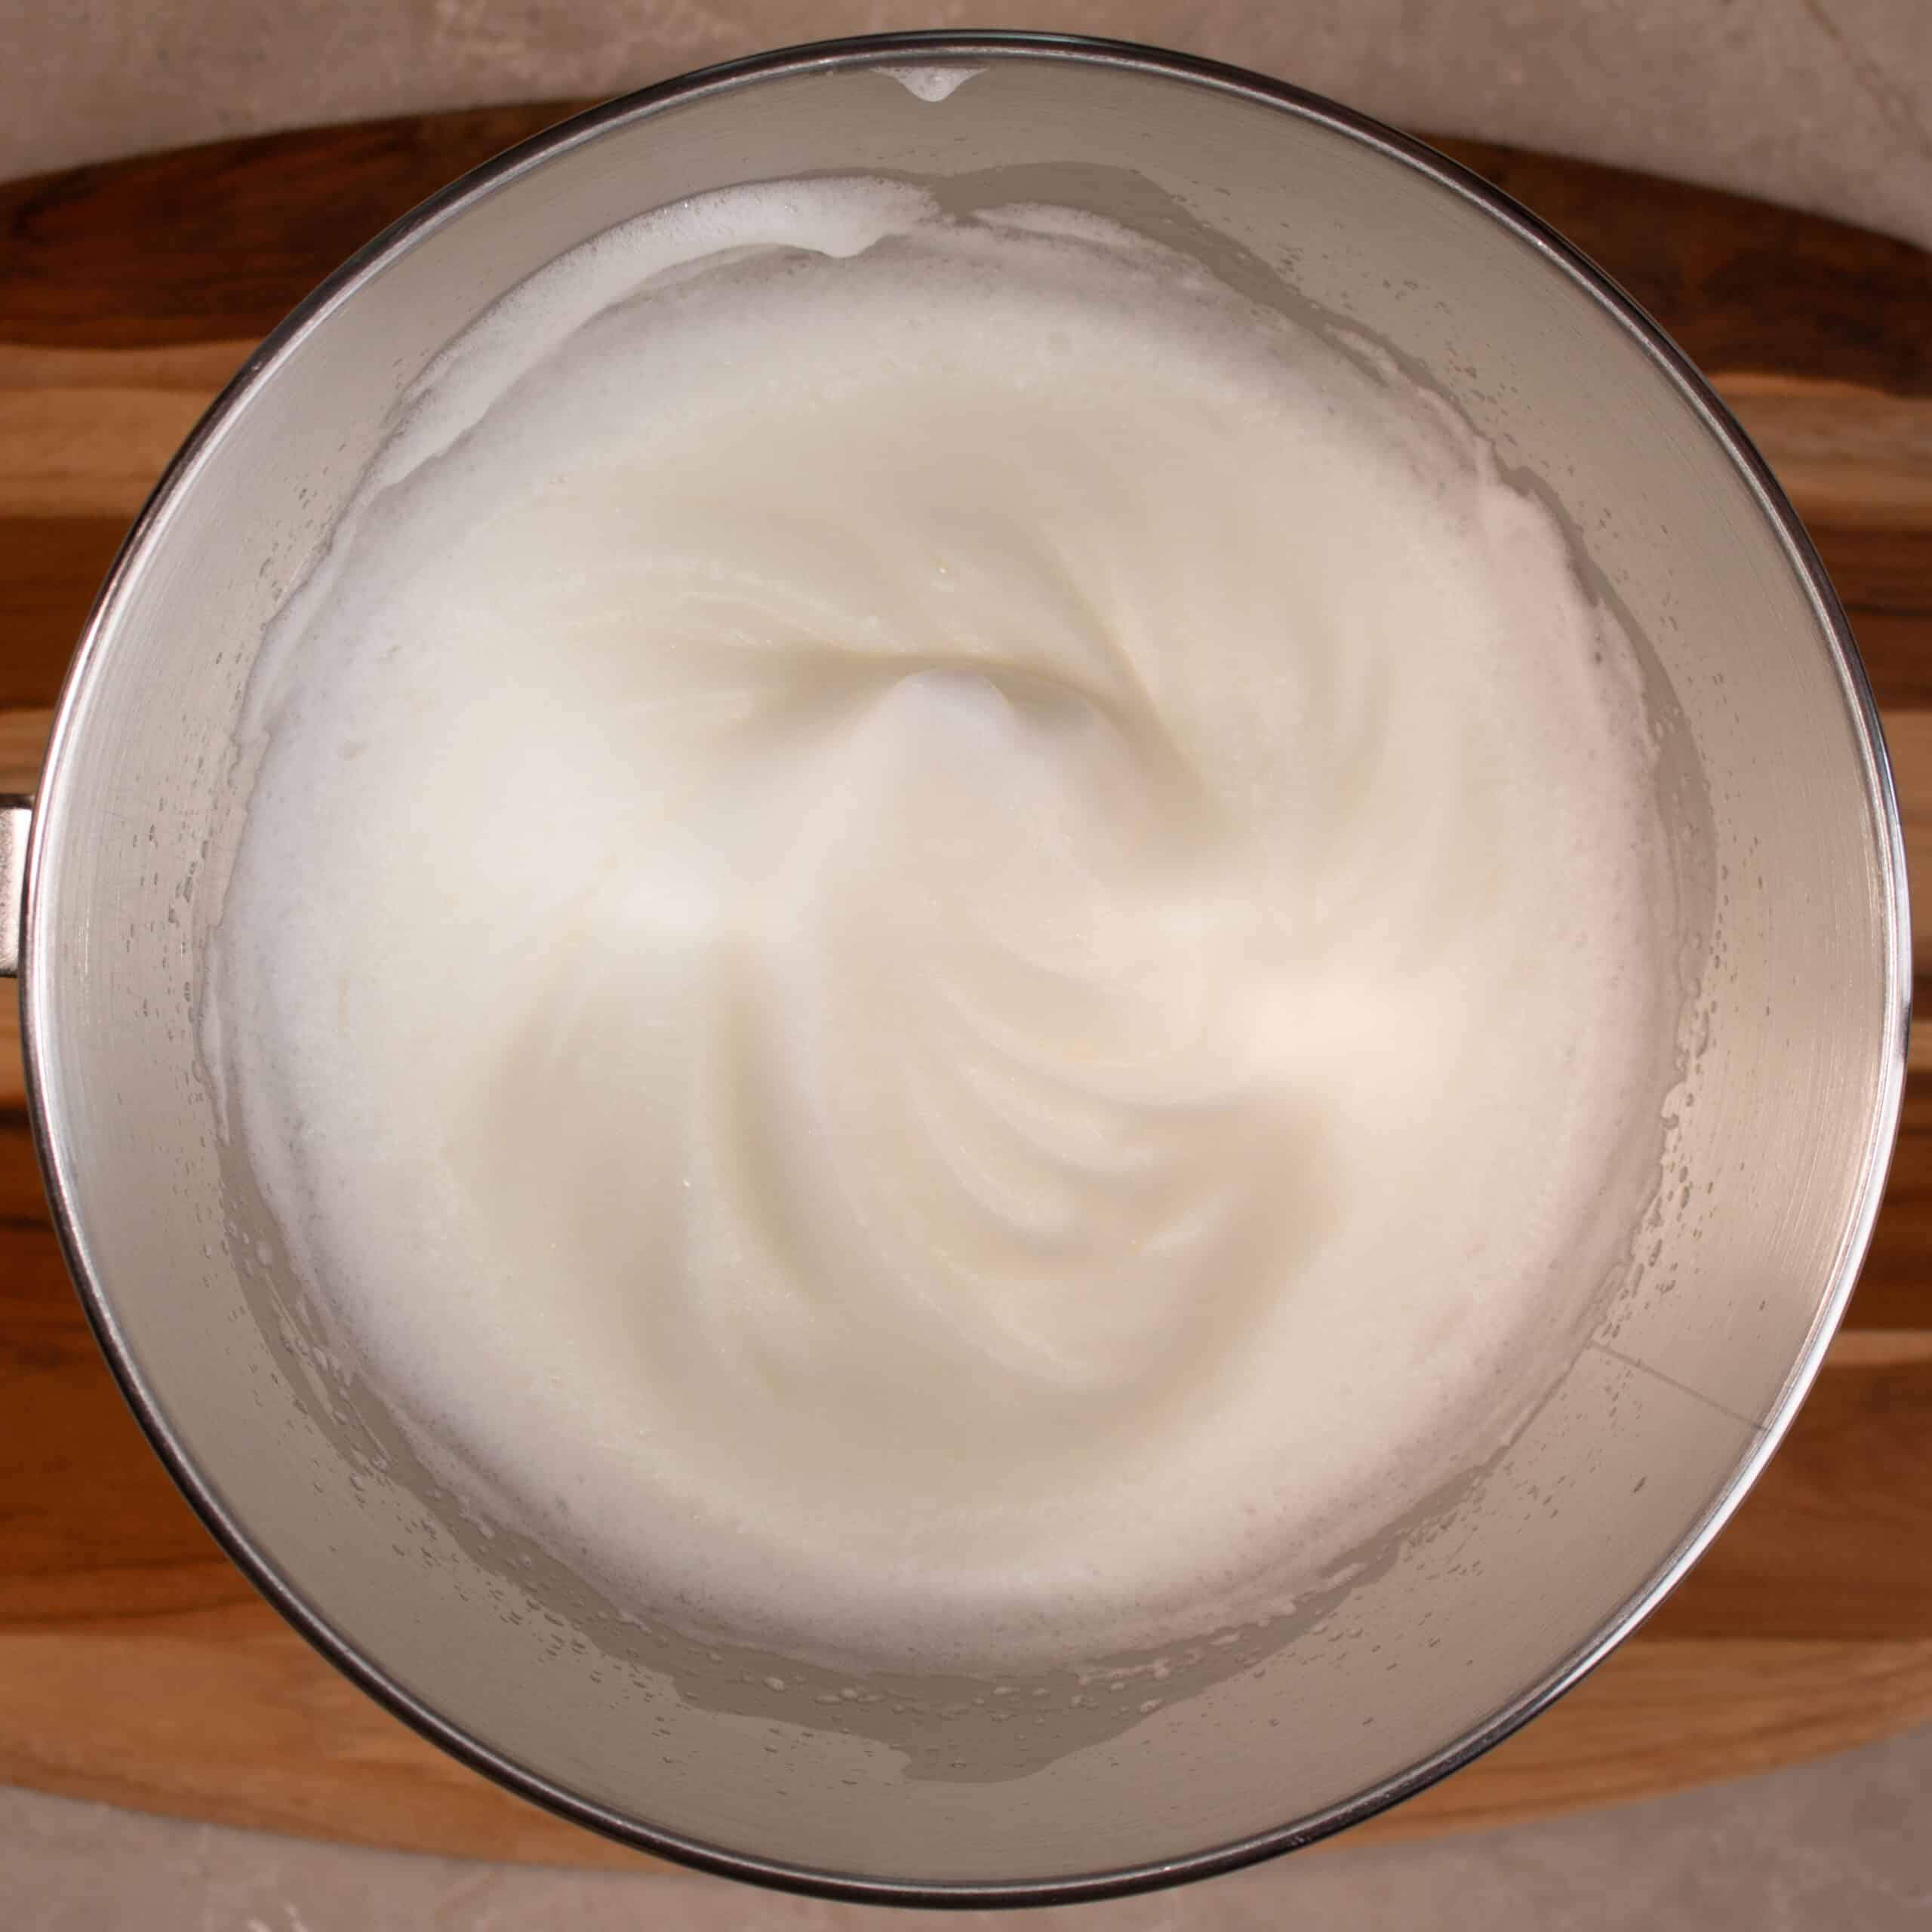
Step 8: Whisk egg whites in a clean bowl until stiff peaks form
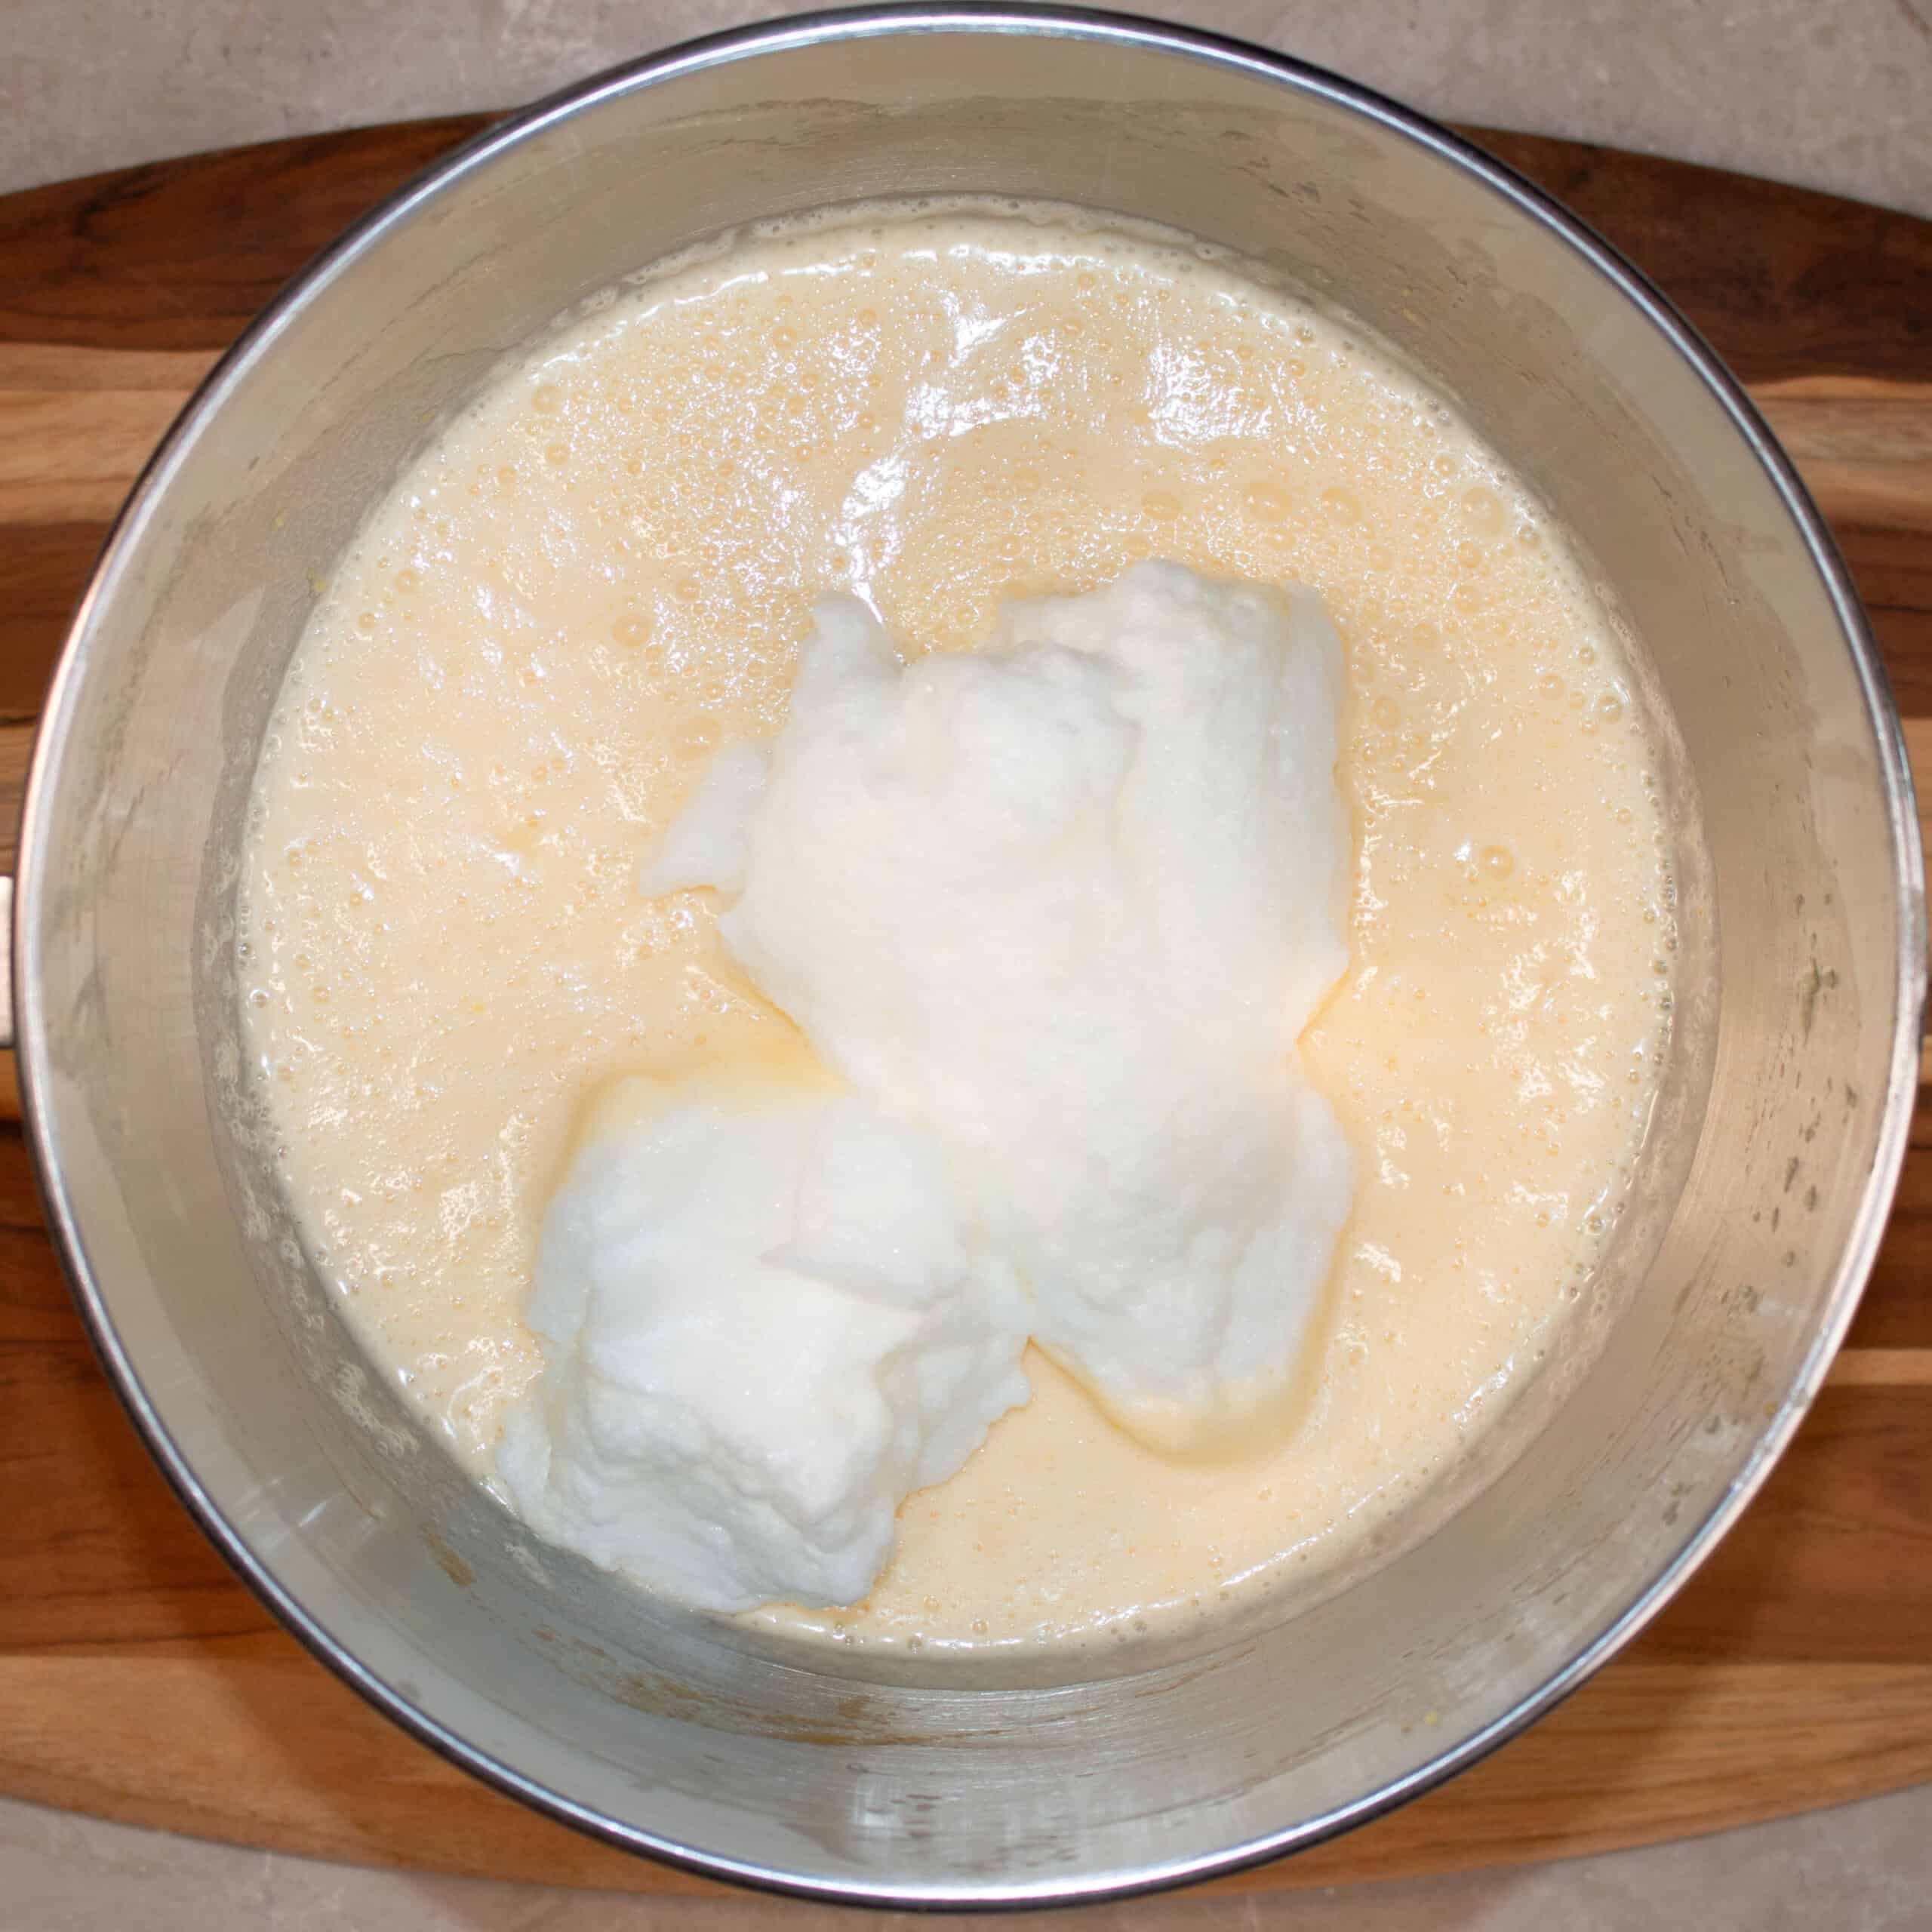
Step 9: Fold the egg whites in to the lemon mixture, you will want to add around a quarter at first. This will make it so easy to add the rest. When that is combined, fold through the remaining egg whites.
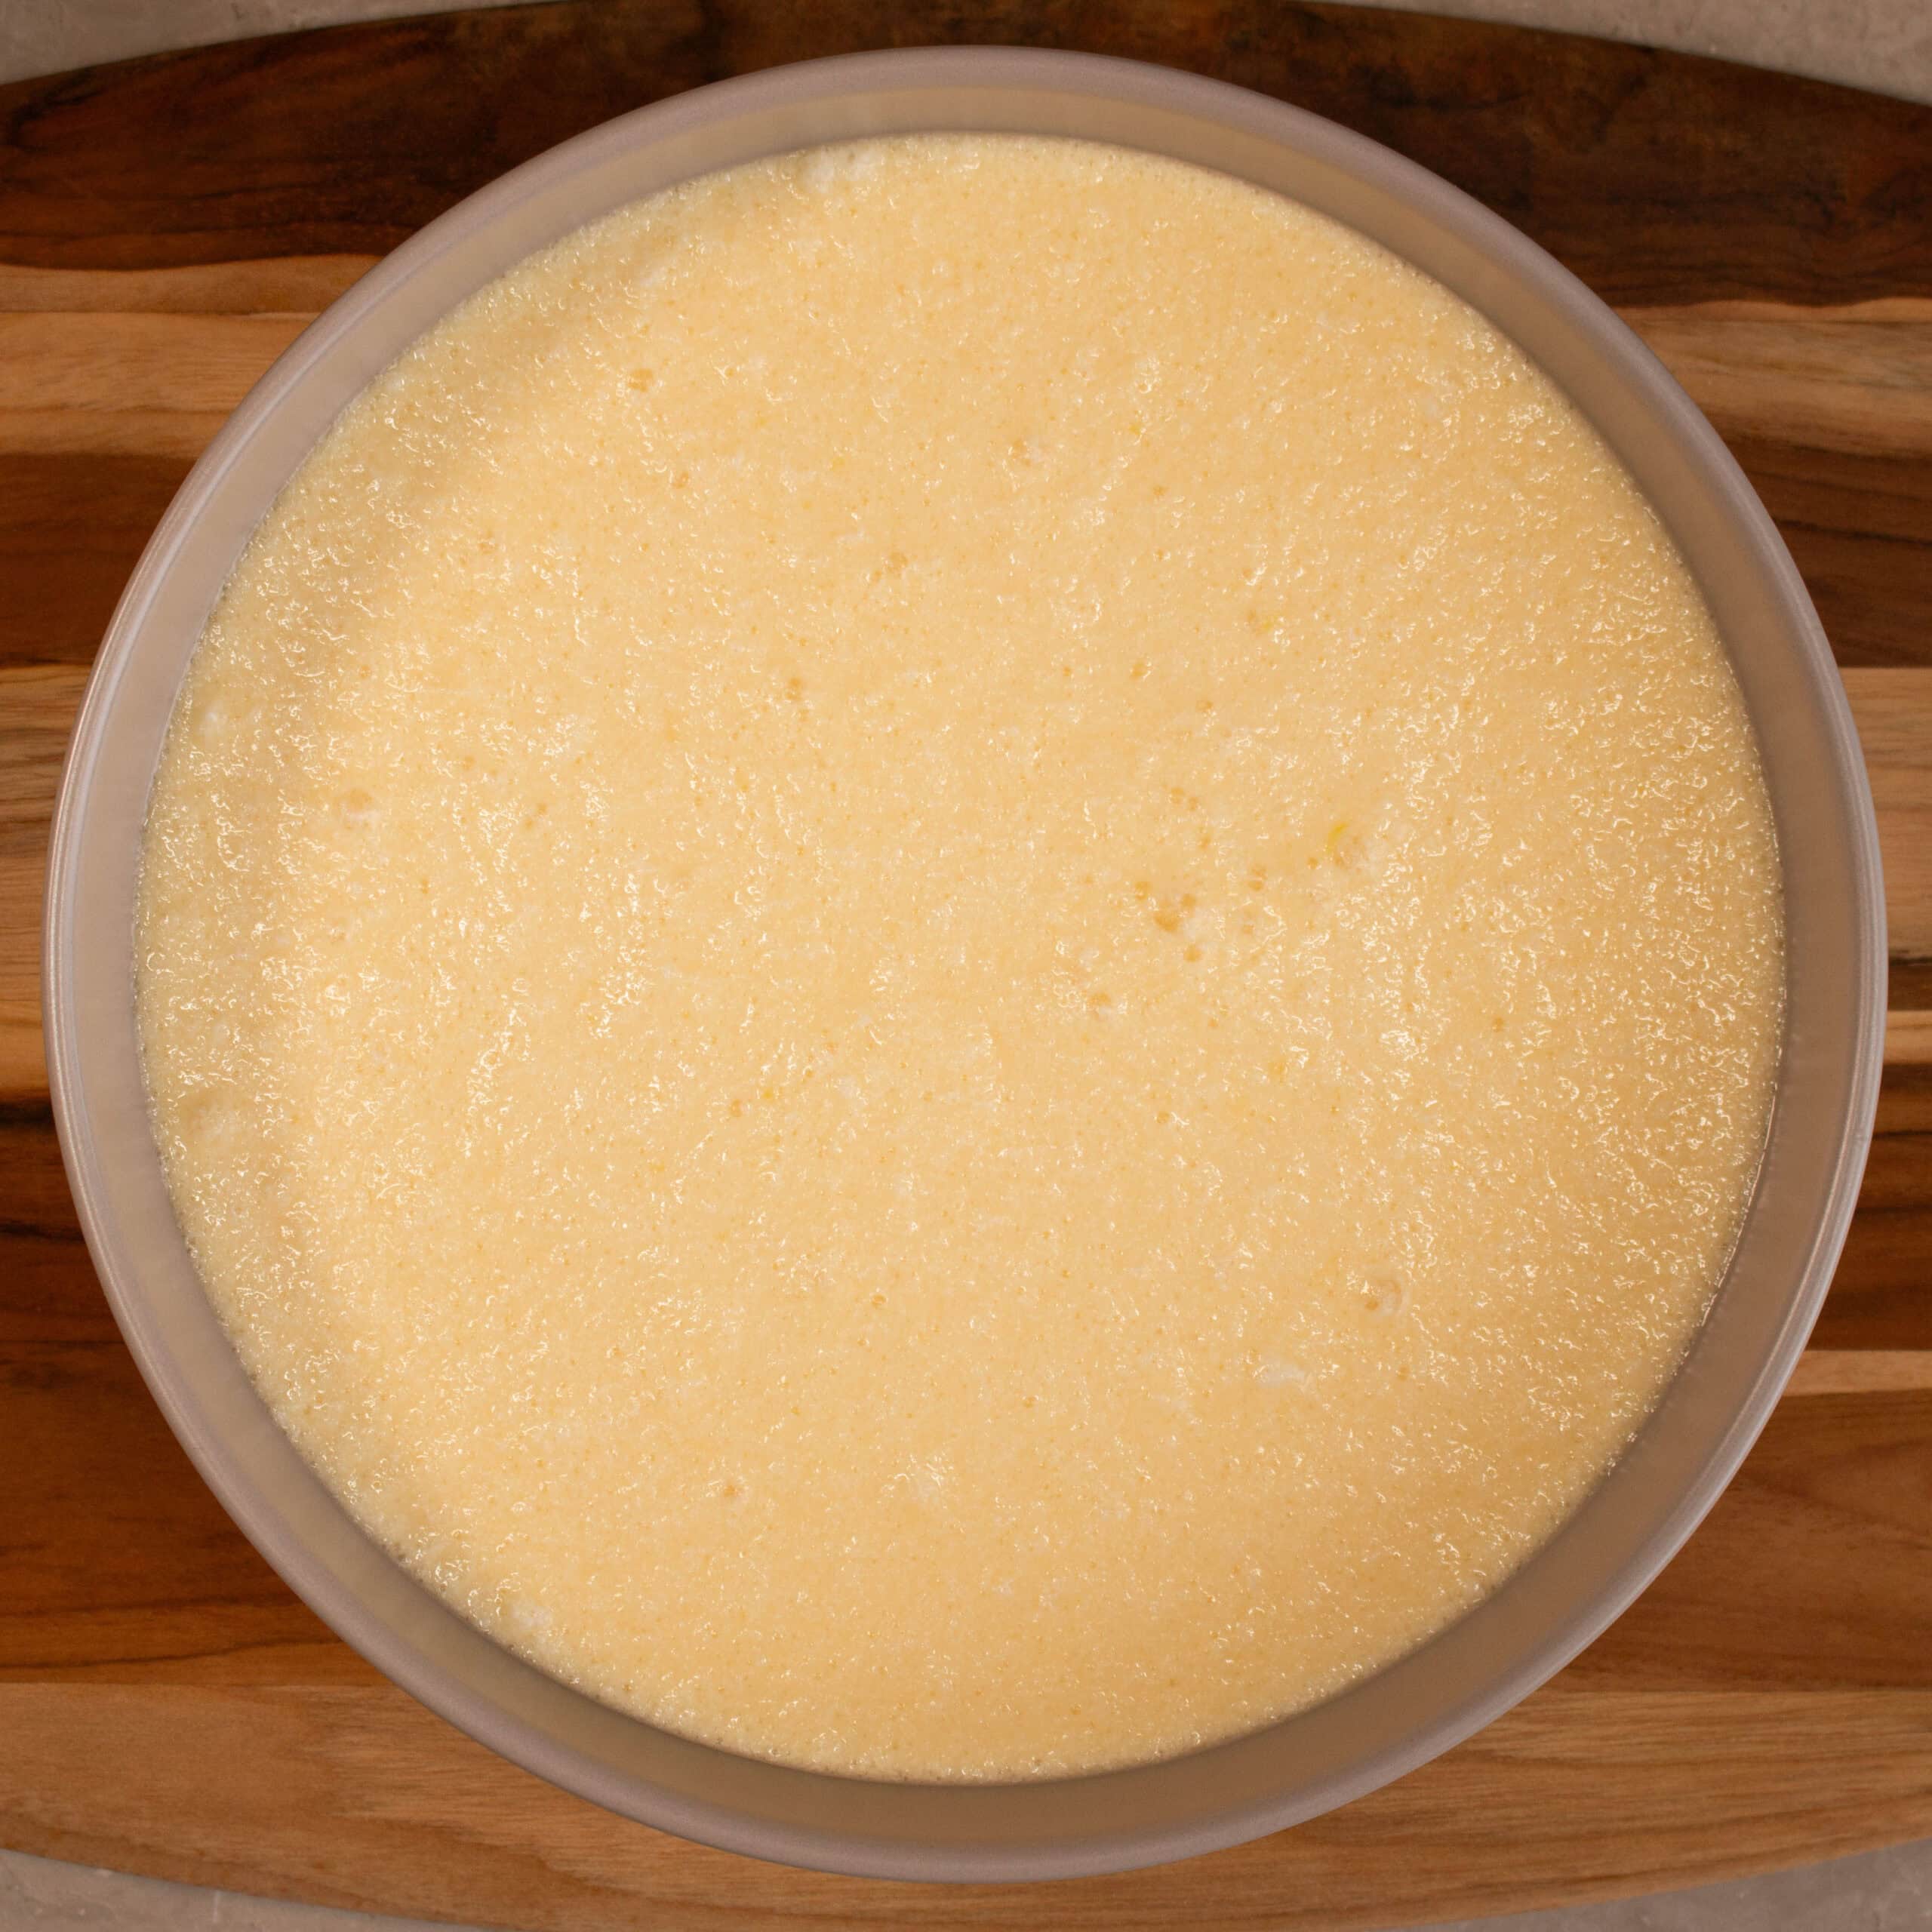
Step 10: Fold the egg whites until just combined as you do not want to overmix it. You want to keep the pudding as light and airy as possible. It should look foamy at this point, it is also fine if you can still see small streaks of the egg white.
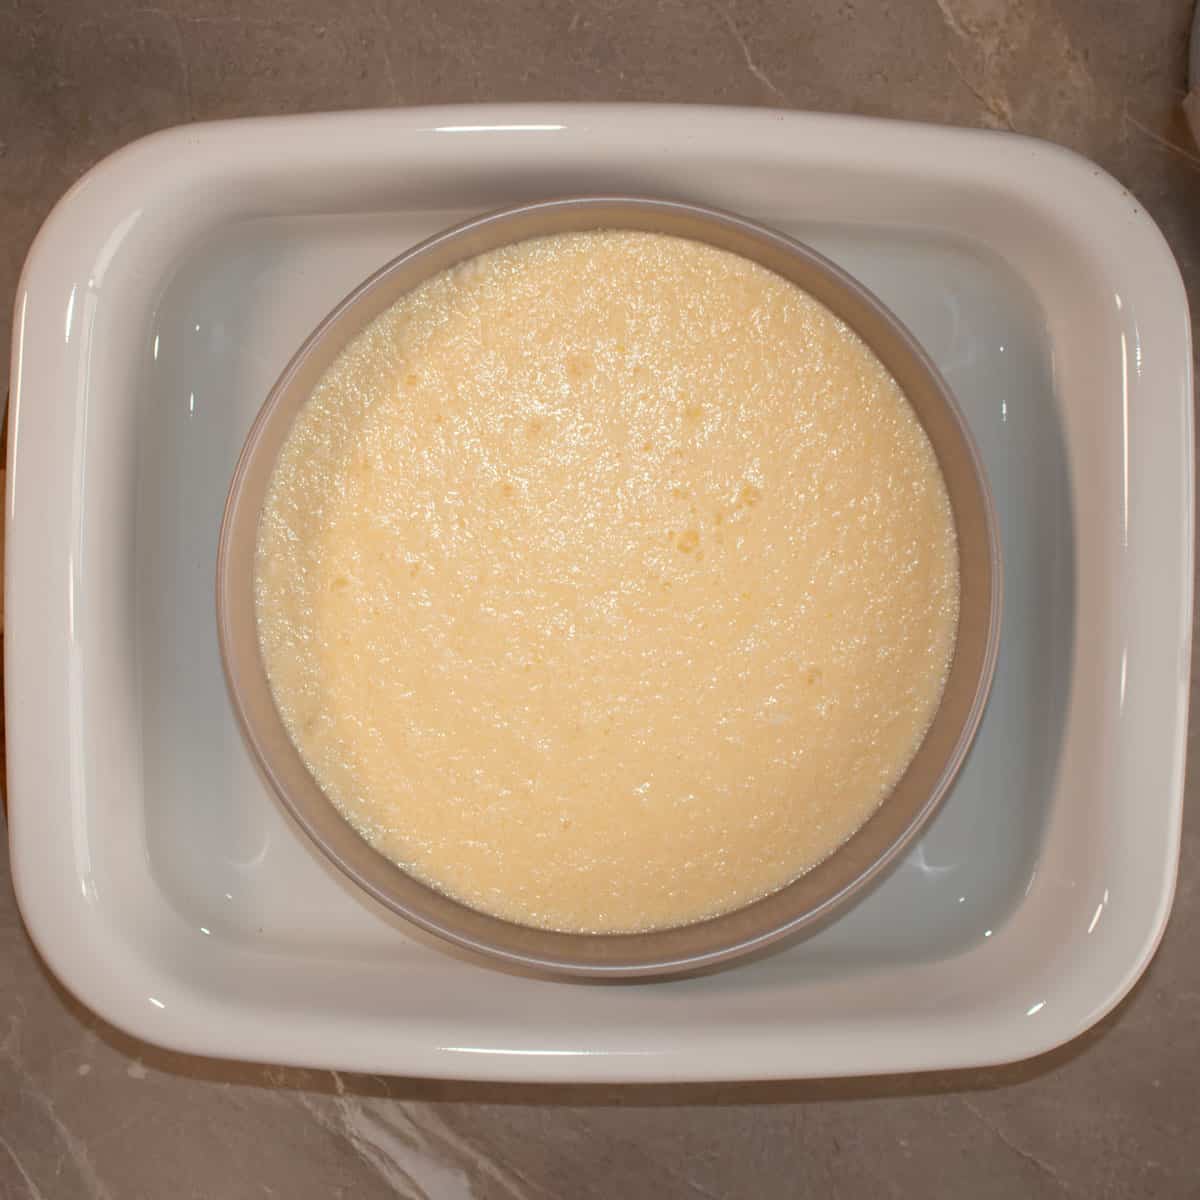
Step 11: Pour the pudding slowly in to your baking dish. Place that dish inside another roast pan so you can cook the pudding in a water bath. Carefully pour the warm water in to the larger baking dish until it is half way up the side of the baking dish with the pudding in it. Cook for one hour on 170 degrees C (fan) / 180 degrees C (conventional oven) or until golden.
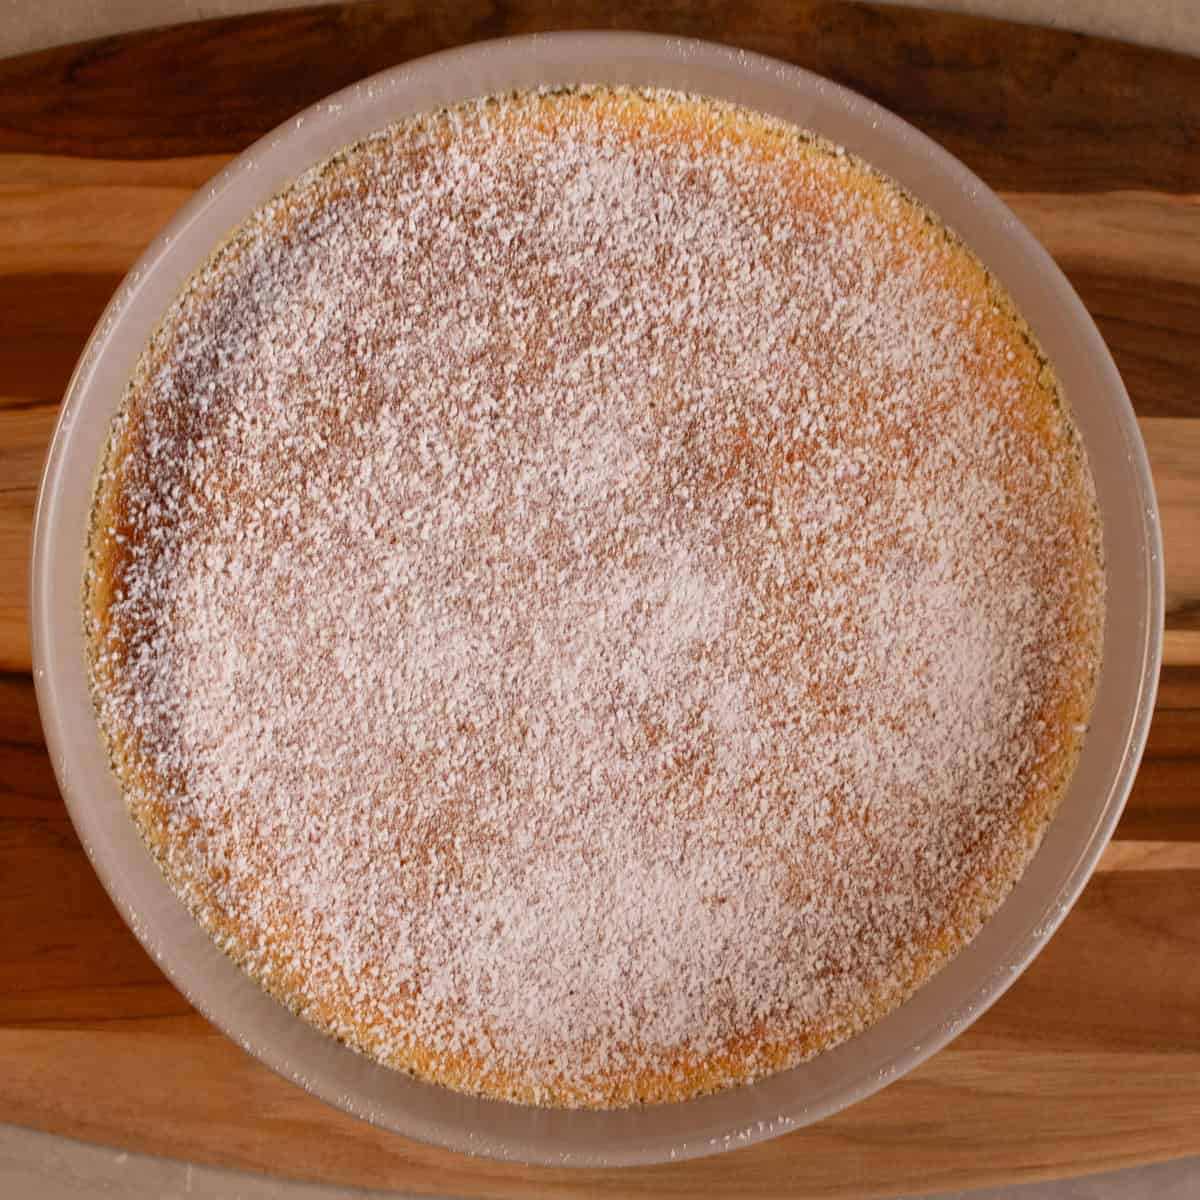
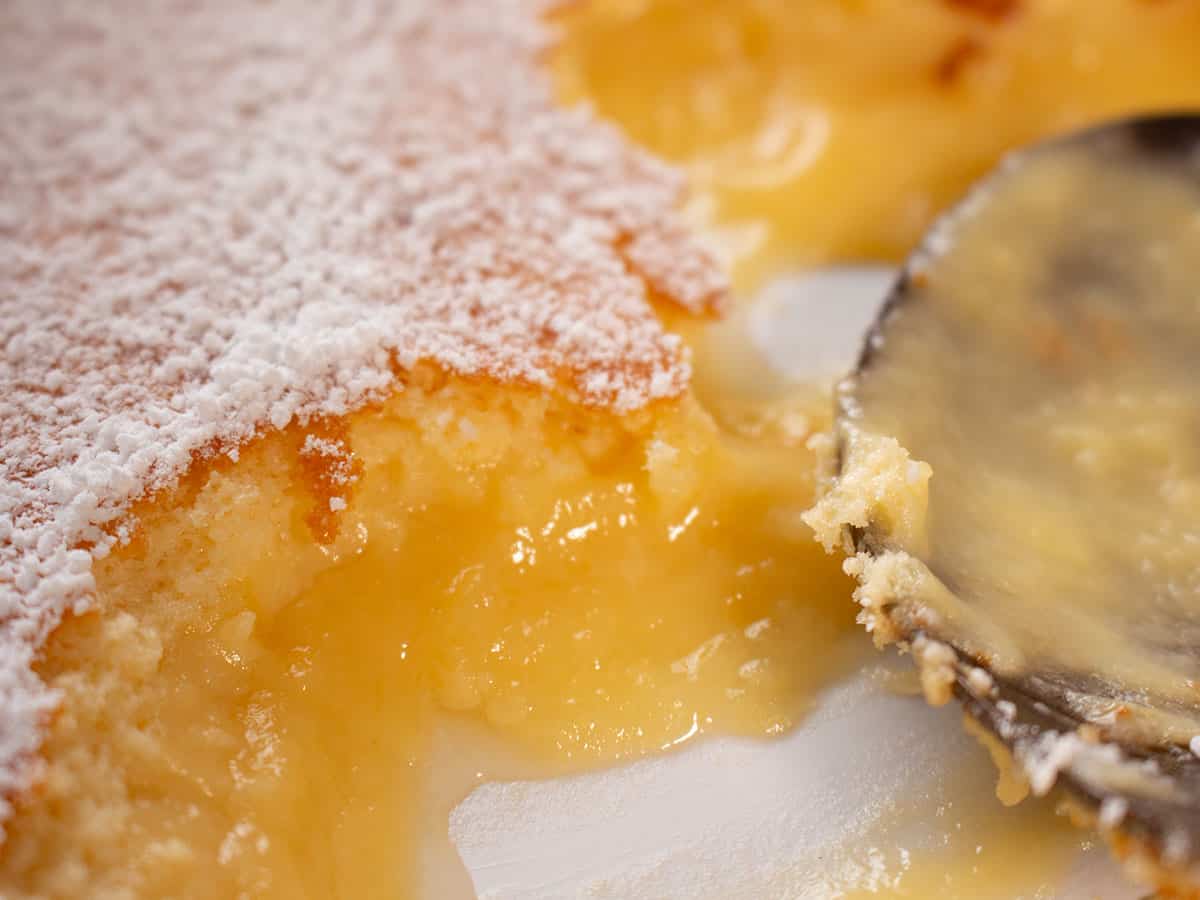
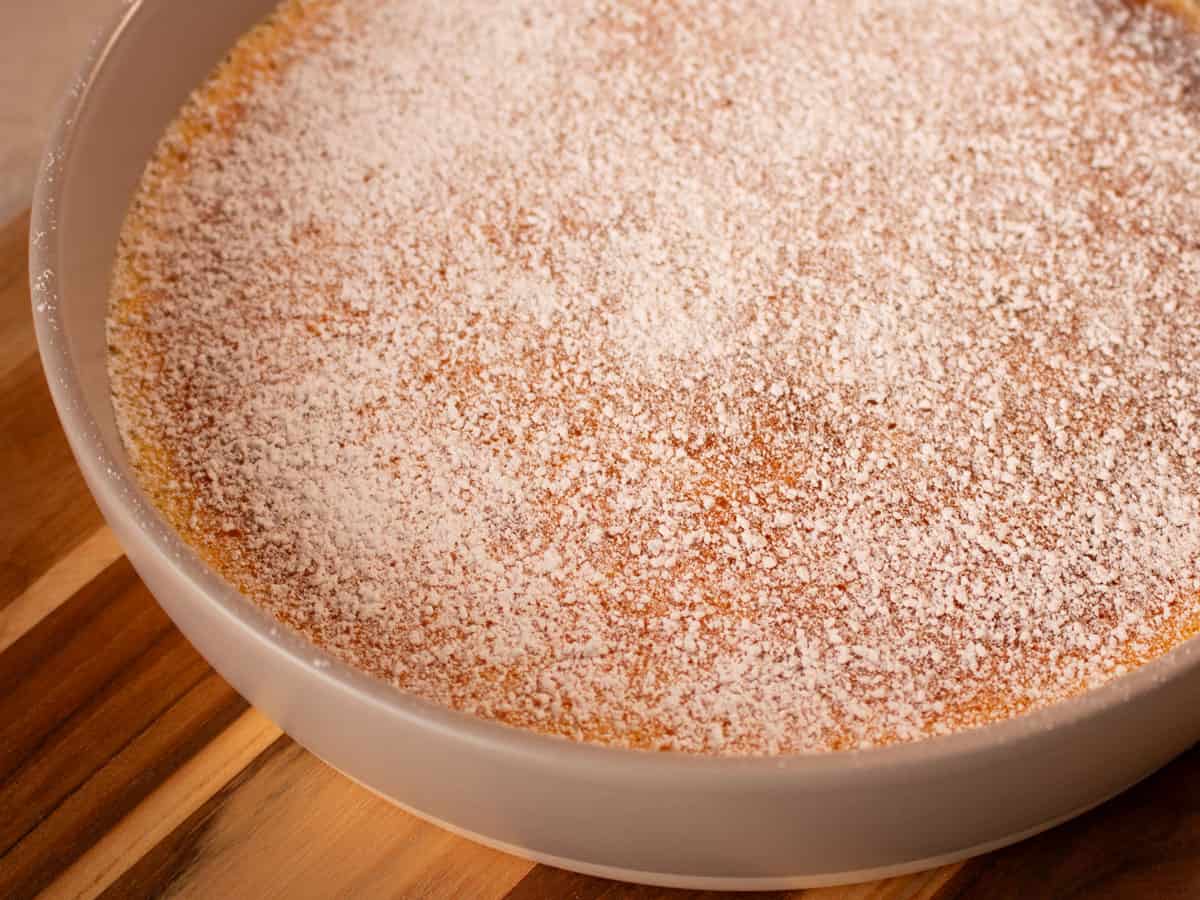
Step 12: Remove the pudding from the water bath and let it cool a little. Sprinkle with icing sugar if you so desire and enjoy. Keep any leftovers in the fridge for 2-3 days
Variations
Your can substitute the lemon for other citrus:
- Lime
- Orange
- Citrus Blend
Use a mix of citrus juices like lemon, orange and lime - Passionfruit and Lime
This is my all time favourite variation, it is absolutely delicious!
Equipment
To make Lemon Delicious Pudding you will need a couple of bowls, a juicer, grater or microplane, an electric beater and a couple of baking dishes ( you will need one to fit inside the other so you can cook it in a water bath)
Storage
Any leftover pudding will keep in the fridge for 2–3 days,if it lasts that long. Serve it cold for a firm, zesty sauce, or give it a gentle warm-up if you want to pretend you just made it fresh. Either way, it’s almost impossible to go wrong.
FAQ
This usually happens due to over mixing when you add the egg whites. The pudding separates in baking because the air in the whipped egg whites rises and forms the sponge. The lemon batter sinks and becomes the sauce. You only need to just fold through the egg whites through. The batter should look foamy, it can be slightly lumpy even with visible streaks of egg white.
It is possible your oven was too hot and the sauce layer did not form properly before the sponge was set. It is also possible you left it in too long and it was overcooked.
The ideal depth is around 3-5cm. Under 3cm the sponge layer forms but the sauce is too thin. Over 6cm the middle can stay too runny and the sponge may not set properly.

Share your family’s treasured recipe and the story that comes with it, so we can preserve these beautiful MEMORIES together.
Lemon Delicious Pudding
Ingredients
Instructions
- Preheat oven to 170℃ / 320℉ (fan) 180℃ / 340℉ (conventional oven)
- You don't need to grease the baking dish but you need to choose what shape you would like to use. I use a glass or ceramic rectangular baking dish 30 x 24cm or a round dish 30cm in diameter. You can also make individual puddings in ramekins, the diameter of the ramekins will determine how many you need, just fill them about ⅔ full. You also need a second larger baking tray so that you can cook your pudding in a water bath.
- Beat sugar, egg yolks and butter well together
- Turn the hand held or stand mixer to speed 1 and add lemon juice and zest
- Sift the flour and salt together and add to lemon mixture, beat until combined
- Add the milk and mix till combined, you will need to scrape the sides and the bottom of the bowl part way through to make sure all of the thicker batter mixes in
- In a clean dry bowl whisk the egg whites until stiff peaks form, do not overbeat them.
- Gently fold the egg whites in to the lemon batter in two additions, first ¼ of the egg whites to help loosen the batter then fold in the remaining whites carefully until no large egg white streaks remain. You want the mixture to look foamy, it is perfectly fine to still have some streaks of egg white. Do not overmix.
- Gently pour the batter in to your chosen dish. Place that dish inside your larger baking tray and pour warm water in to the larger tray so that it reaches half way up the side of your pudding dish.
- Cook for one hour at 170℃ / 320℉ (fan) 180℃ / 340℉ (conventional oven) or until golden. If you choose ramekins they should take around 20-25 minutes to cook.
- Once cooked take it out of the oven and remove from the water bath, let it cool for 15 - 30 mins before dusting with icing sugar then serve
Nutrition
Notes
- Look at the sponge top, it should be lightly golden and spring back slightly when touched with your finger or the back of a spoon
- Check the edges, the sponge should pull slightly away from the side of the dish
- If you can see the sauce underneath it should look slightly wobbly or liquidy
- The sauce will thicken slightly
- Sponge sets just a little more
- Your tastebuds work perfectly when tasting sweet treats between room to warm temperatures so let it cool a little so you can enjoy the full taste experience!!


Leave a Reply